Update 2021-01-25: There is now a Part 3 to this project
Update 2019-10-24: There is now a Part 2 to this project
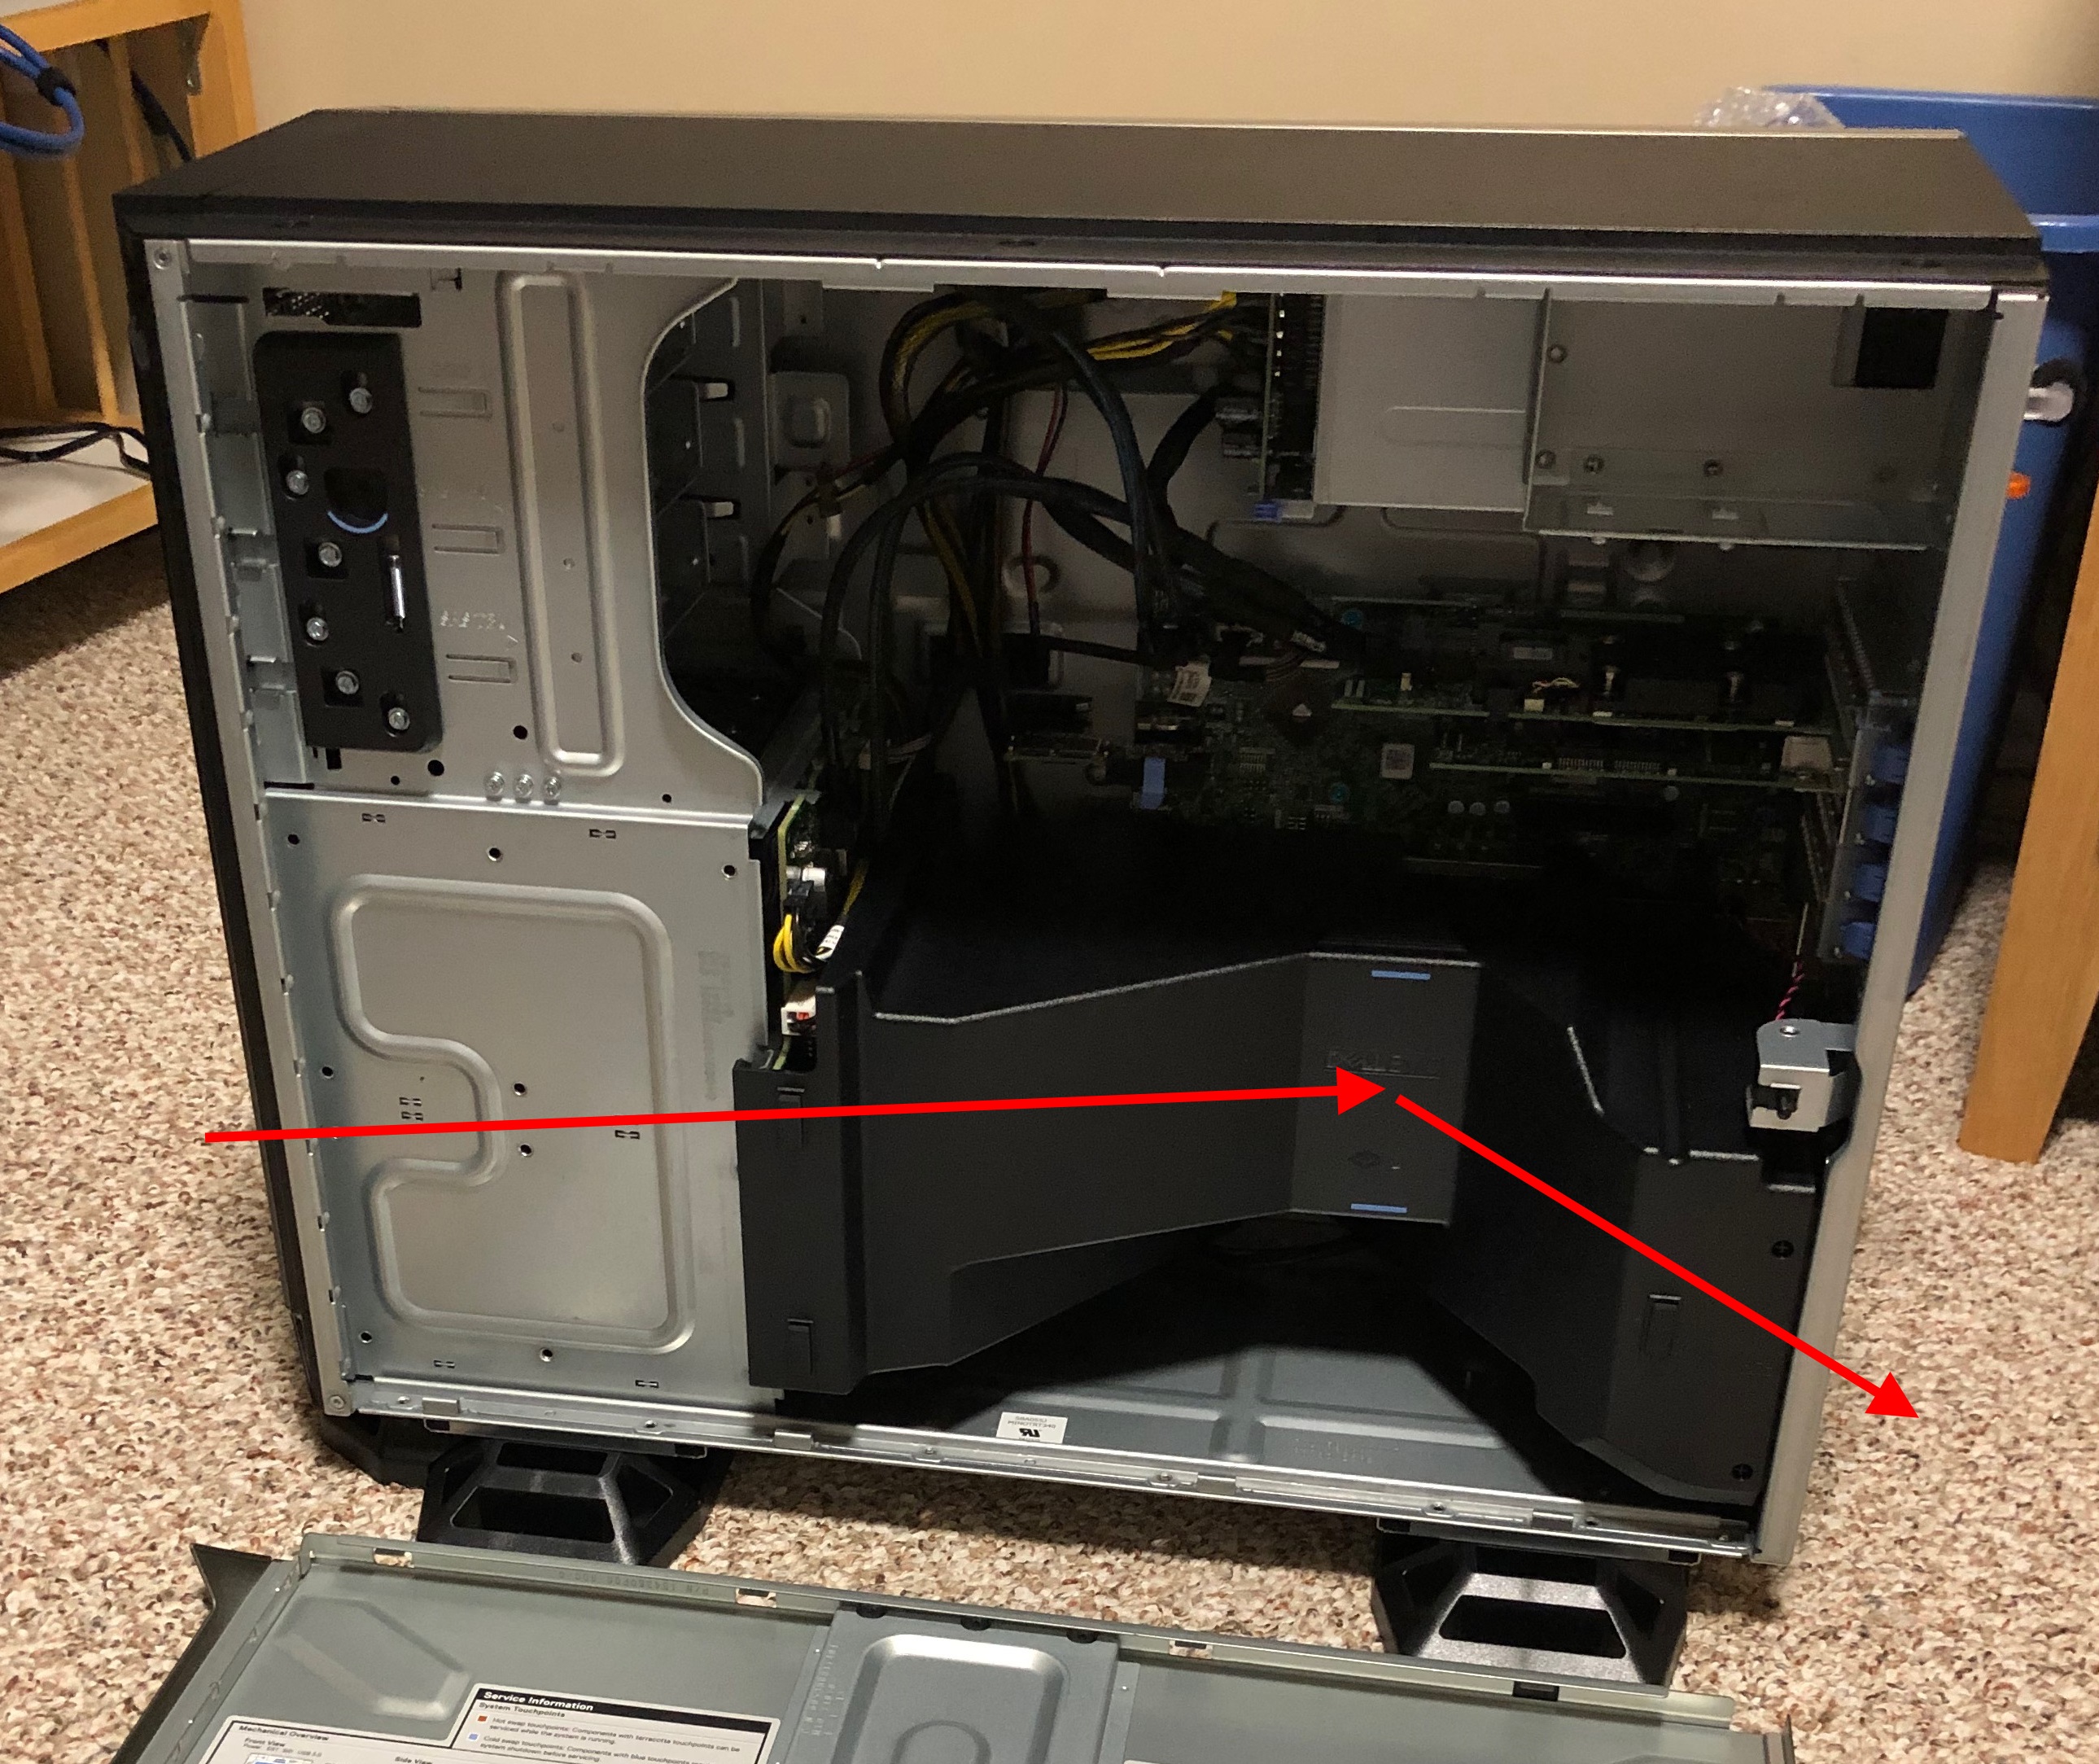
I recently upgraded my Homelab (the thing that hosts this very blog) from a custom built server to a Dell T340. I have experience with the tower line of Dell servers from work and they’ve always been fairly quiet I’ve found once they’ve finished their power-on self-tests.
Not the case with the new T340. I did some testing with my iPhone and the dB Meter & Spectrum Analyzer App, holding it about 1 foot away from the front of the case, and got a average reading of ~52db-62db while the server wasn’t working very hard, in fact it was nearly idle. The ramping up and down of the fan is fairly annoying to, fair hairdryer like.
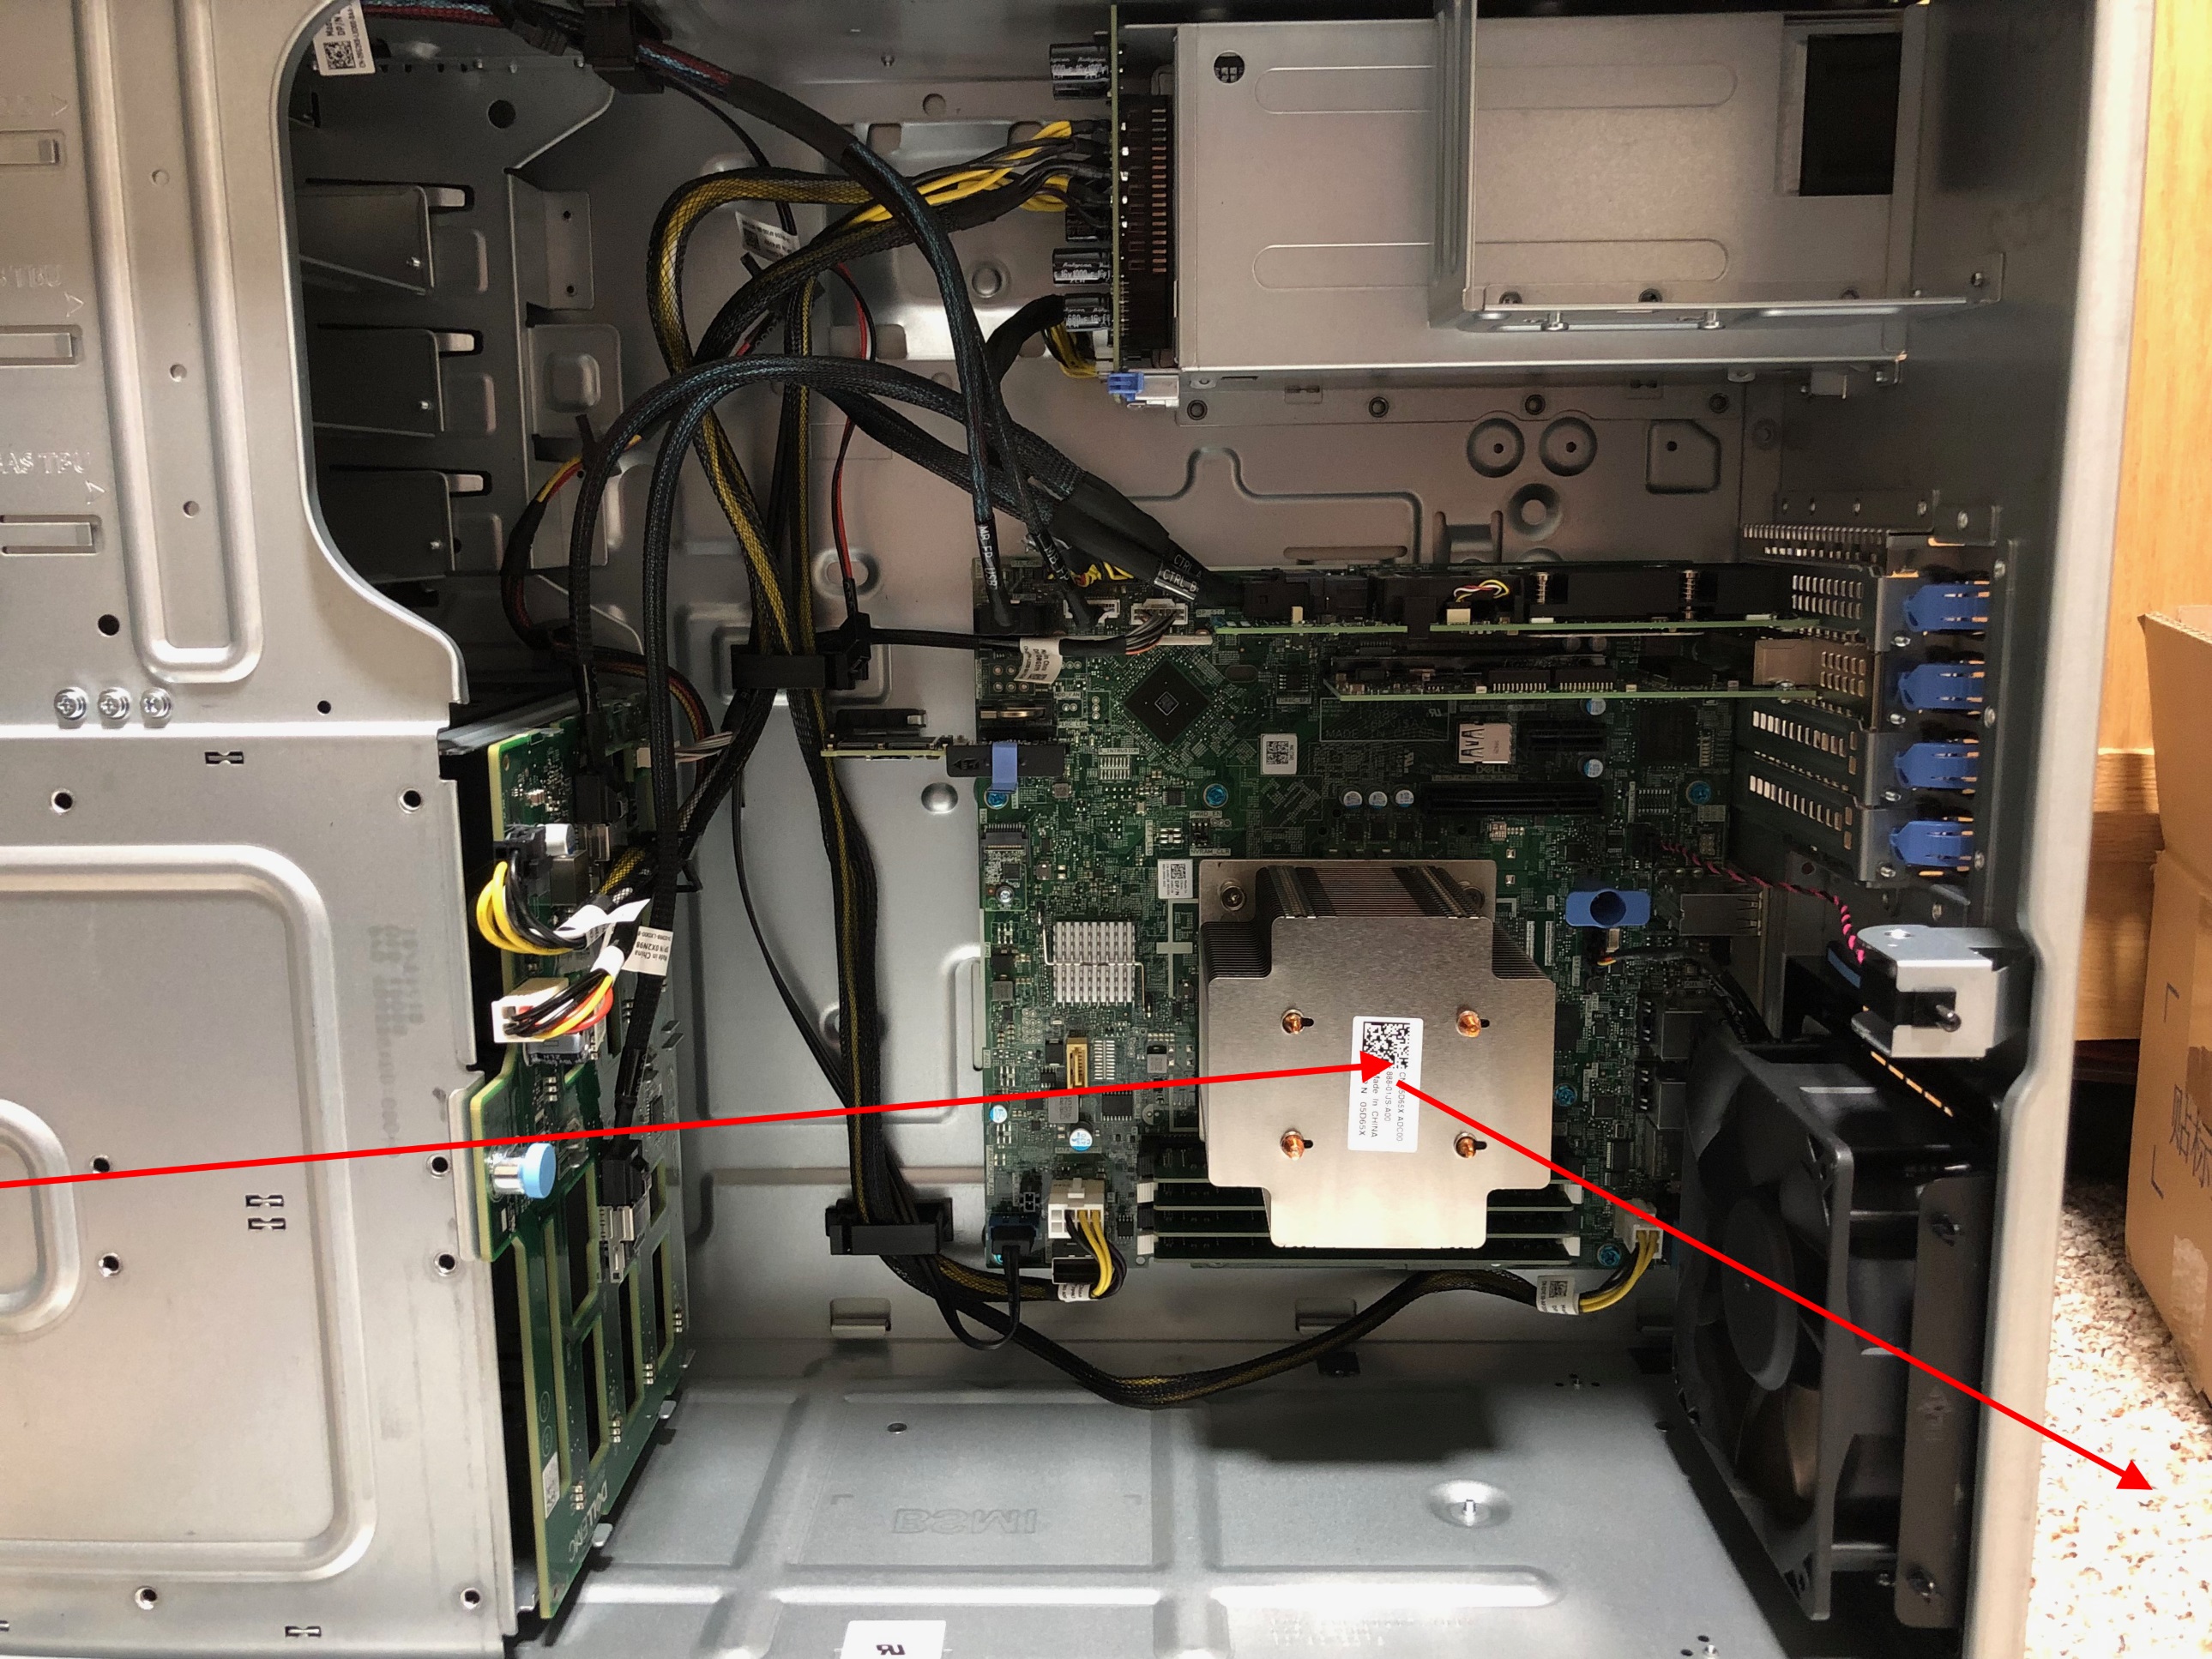
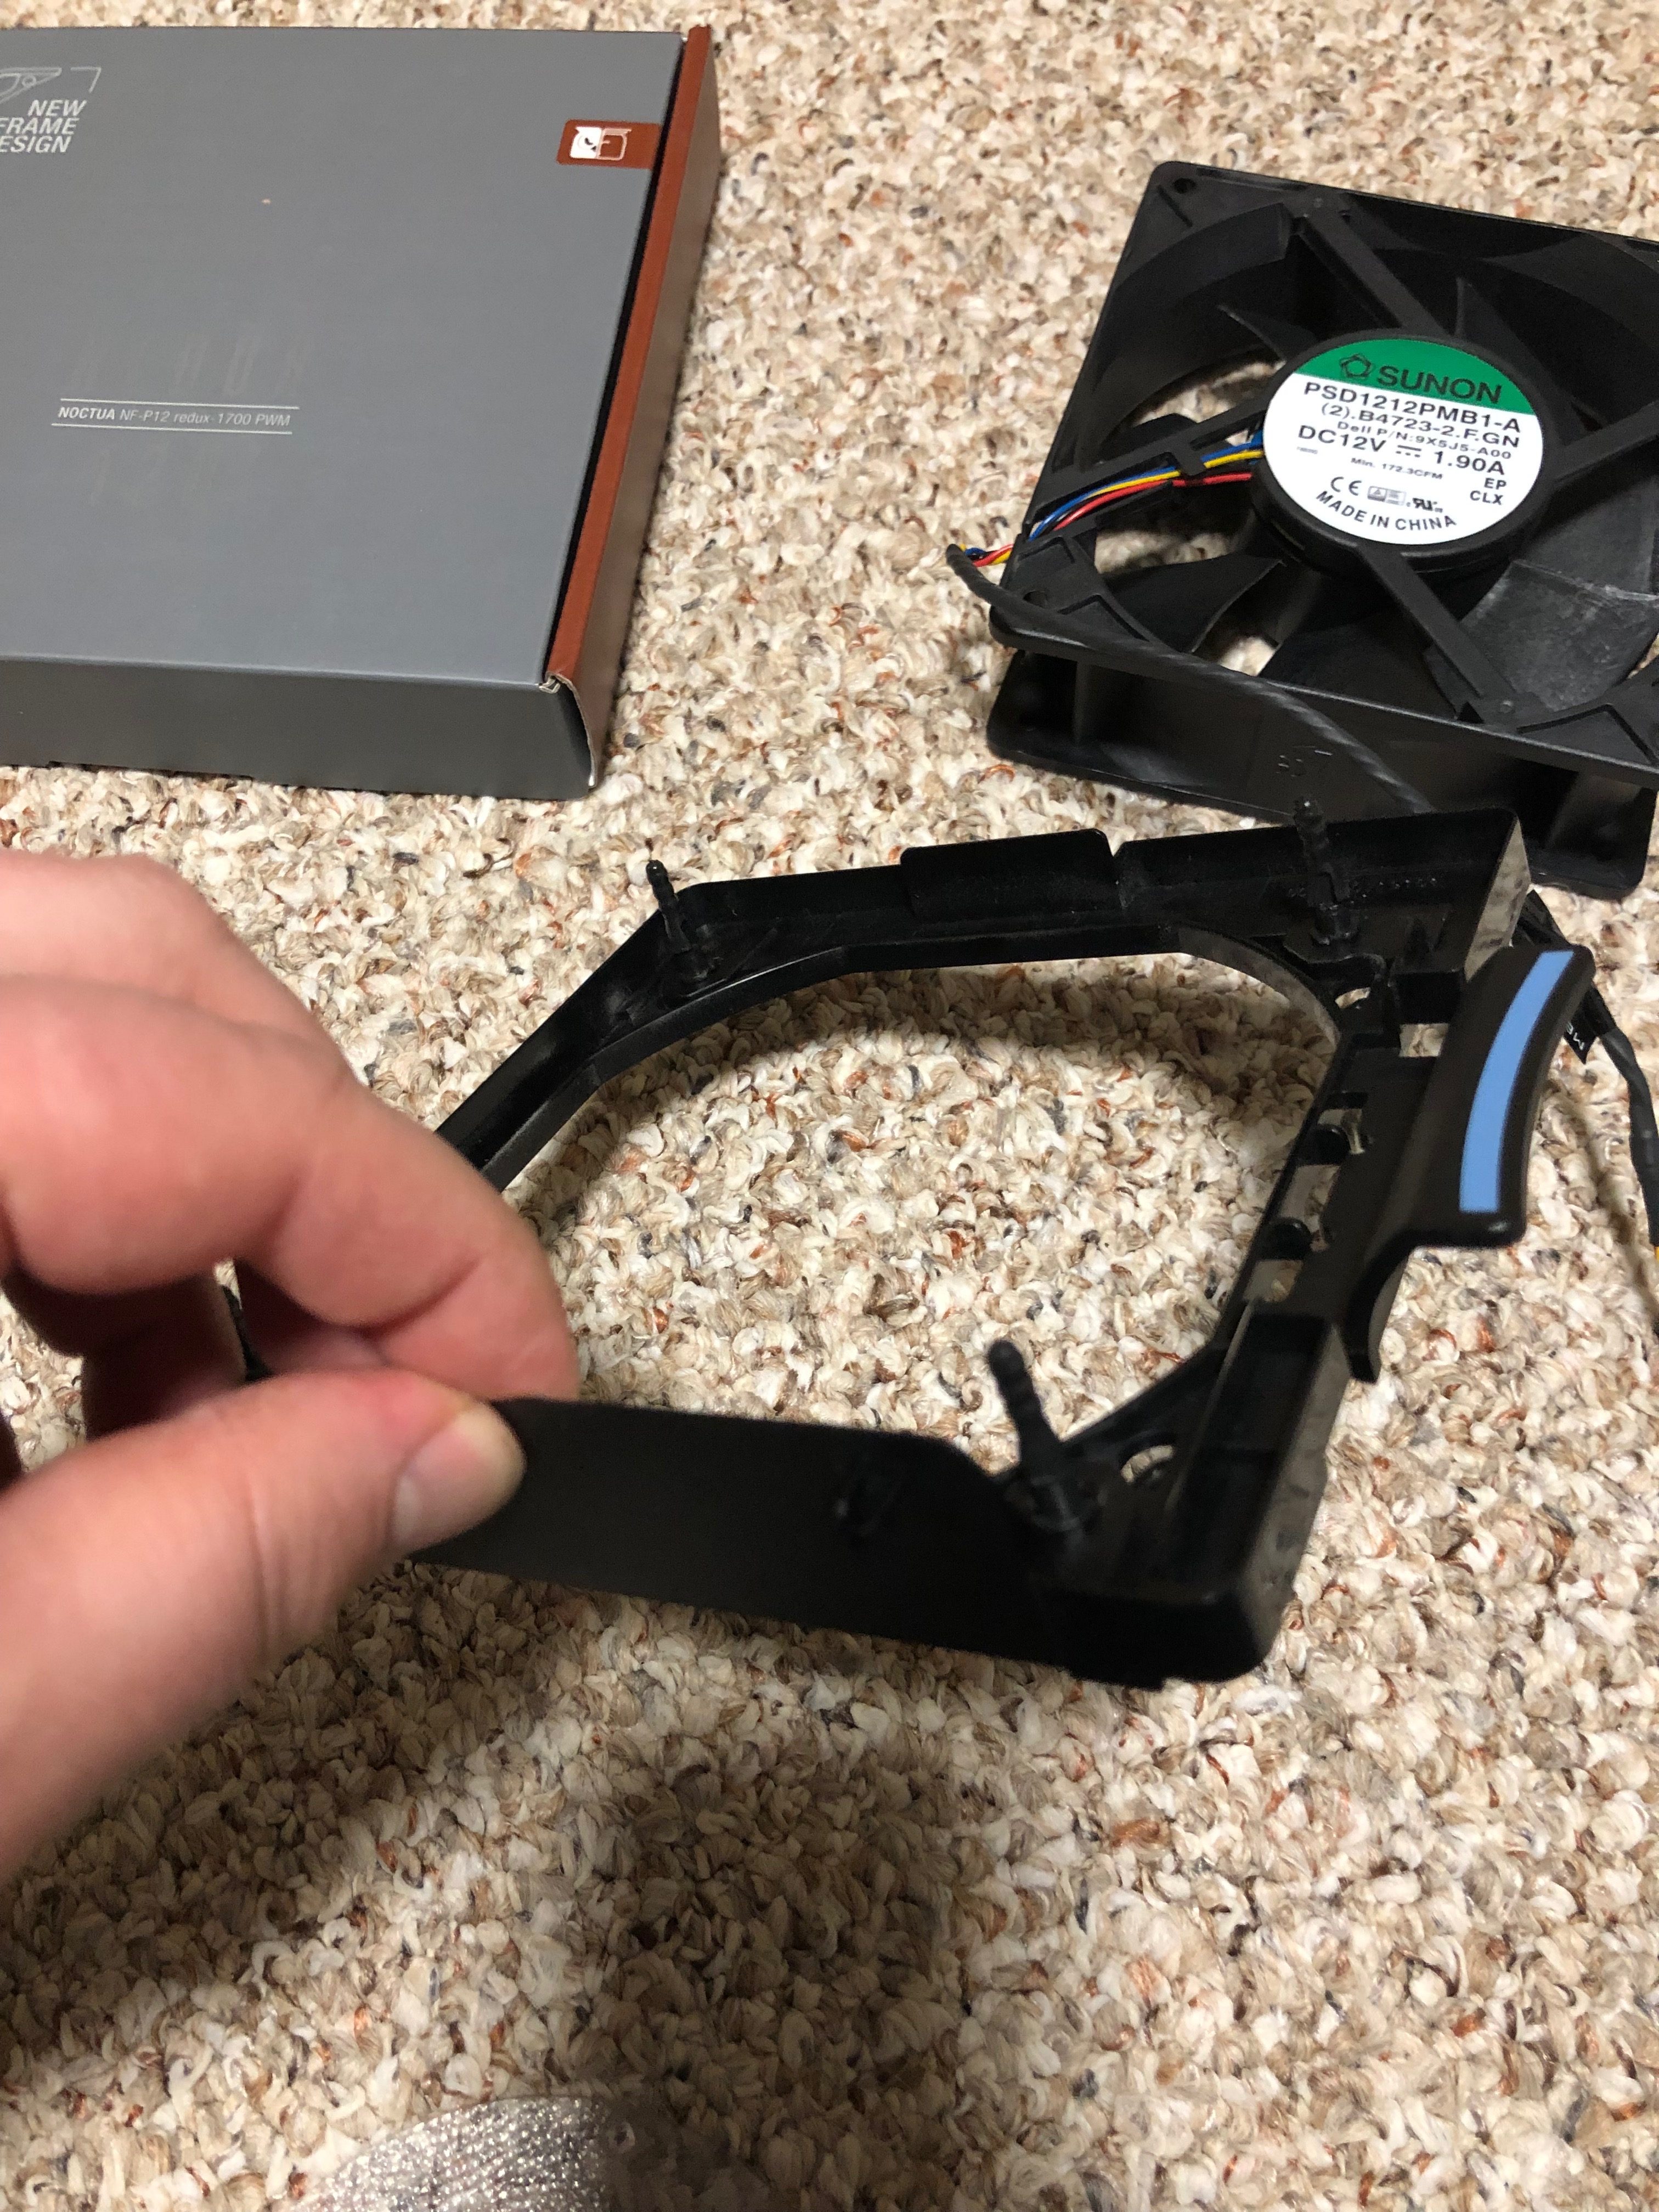
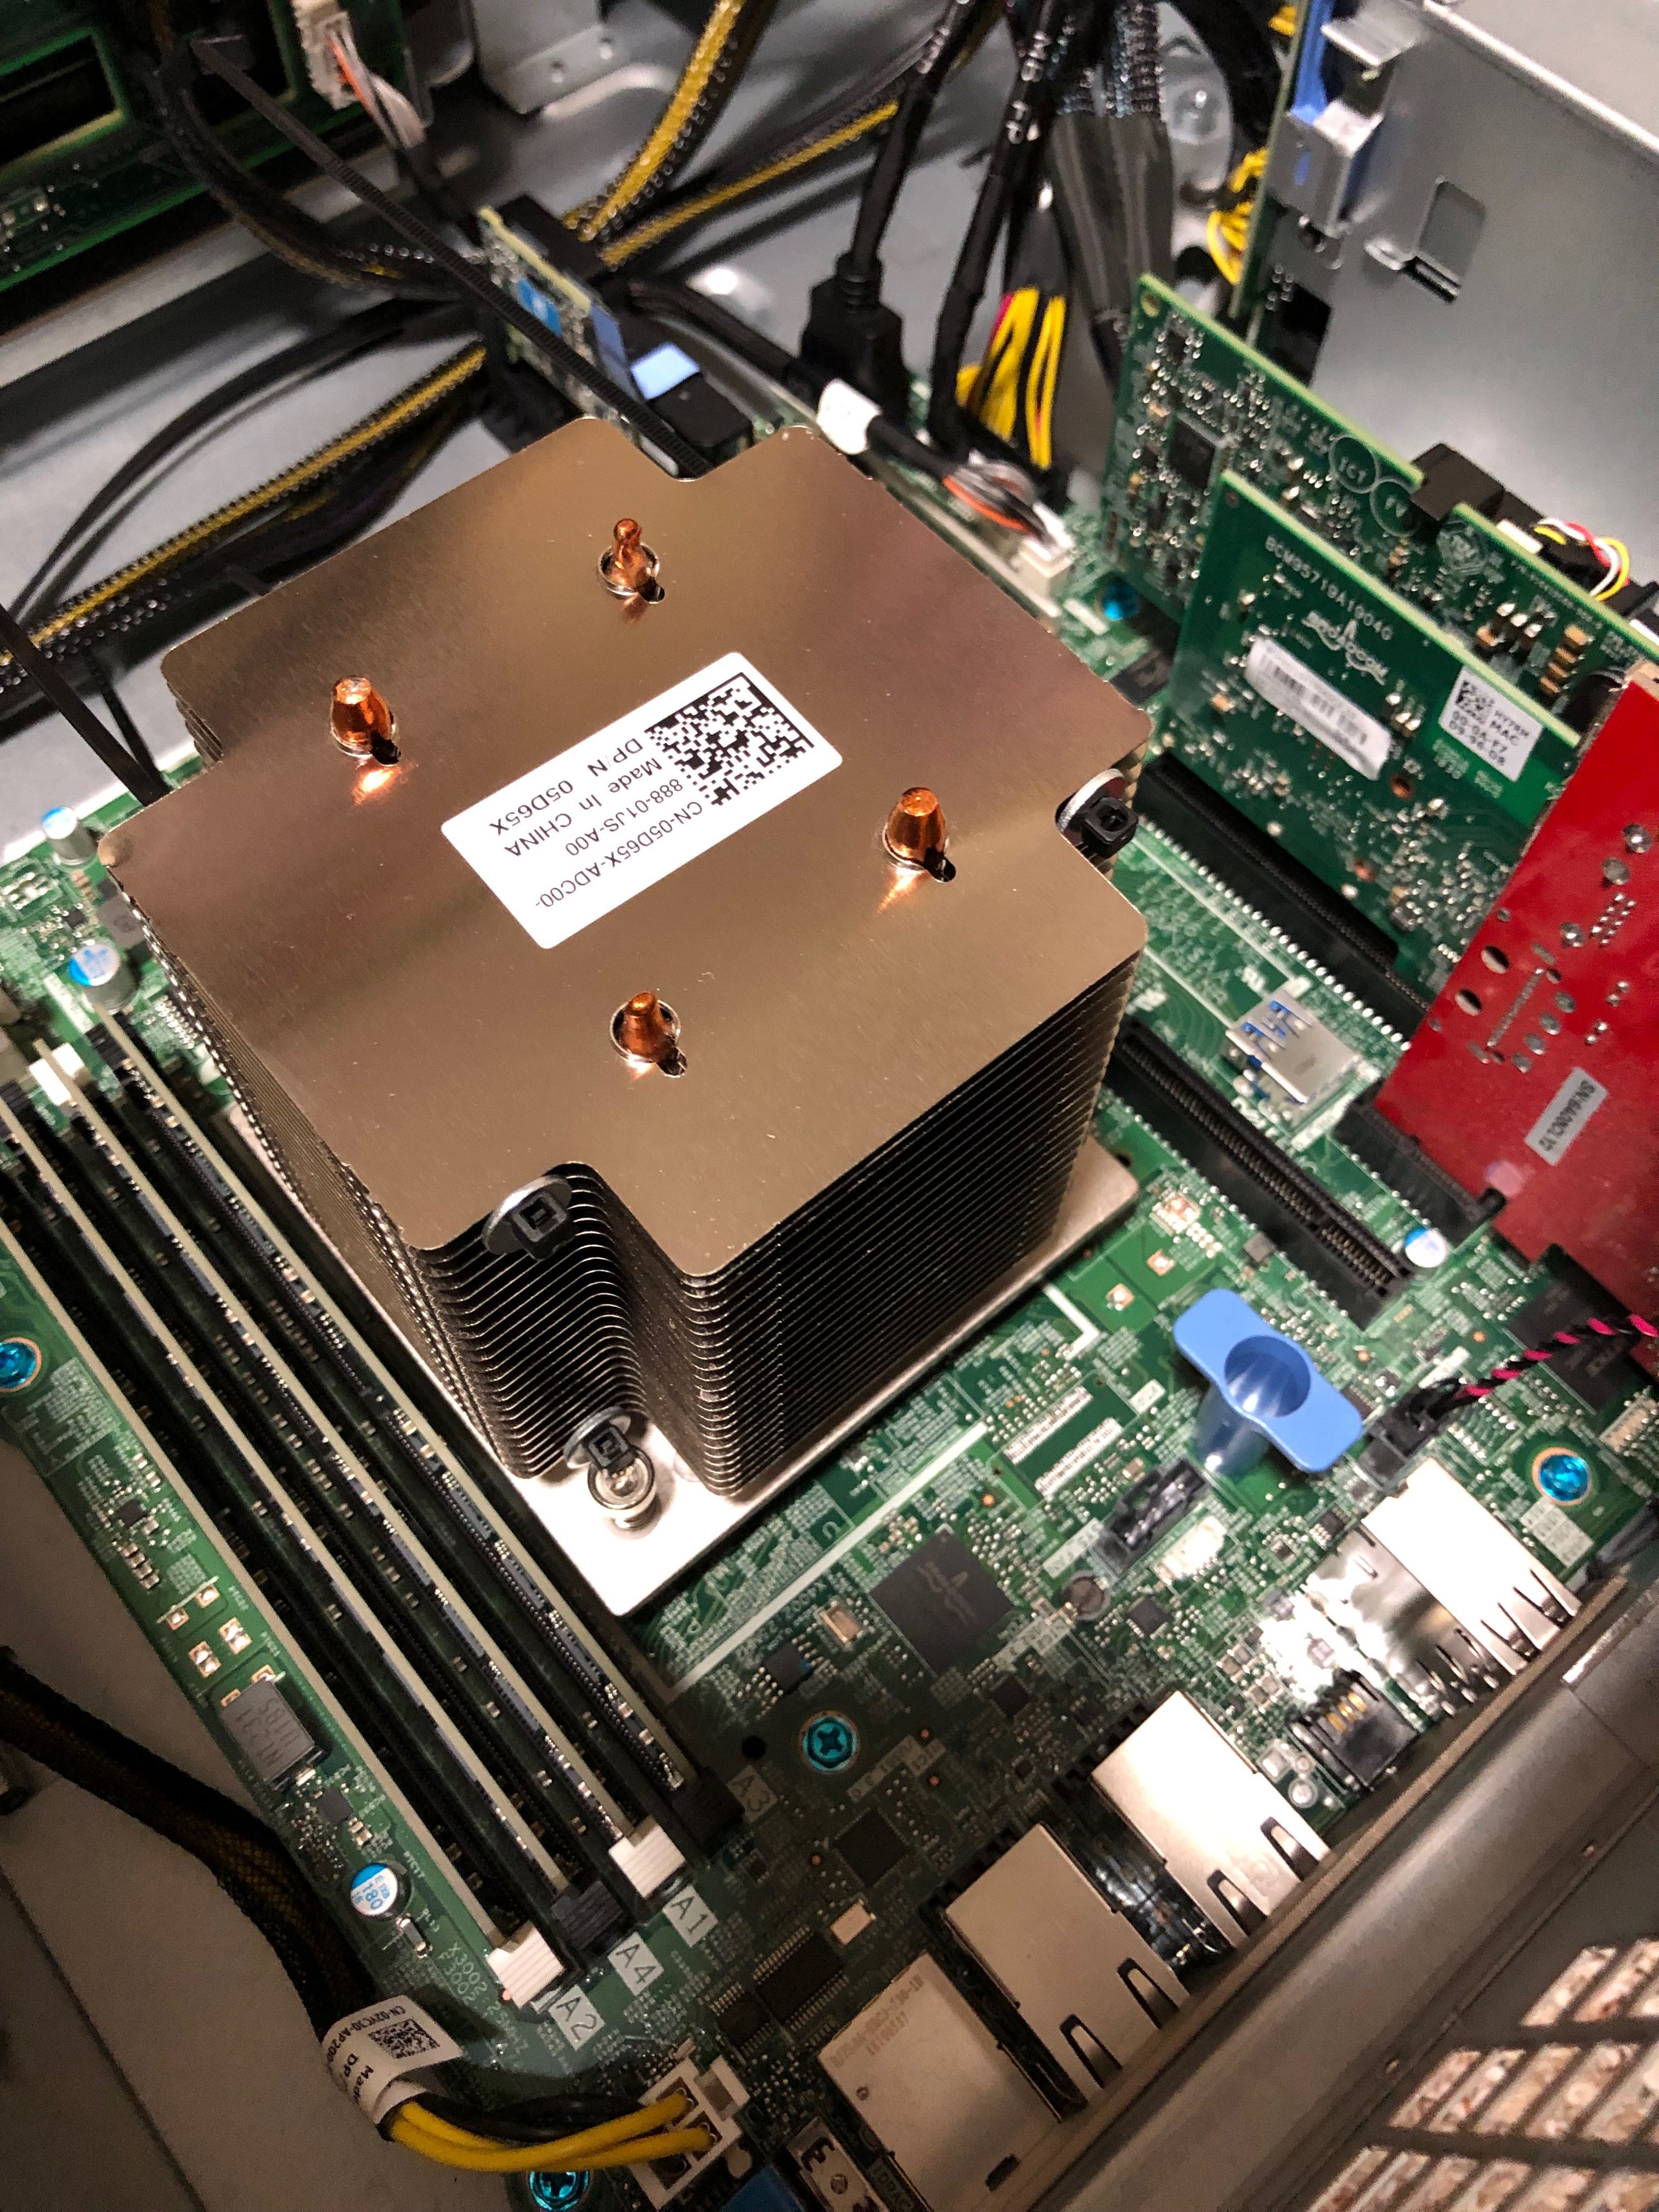
The T340 is cooled by one single 120mm fan at the back of the case. There is a plastic shroud that Dell installed that basically creates a air channel from the back of the HHD backplane, through the heatsink on the CPU and out the back of the case:
After looking up the fans model number I found out why it was so loud.
Model: Sunon PSD1212PMB1-A
Dell P/N: 9X5J5-A00
Airflow: 226.5
CFM Speed: 6000 RPM
Noise: 65.5 dBA
Since this server sits in my office at home I wanted to find a solution to this problem with out removing the OEM CPU heatsink.
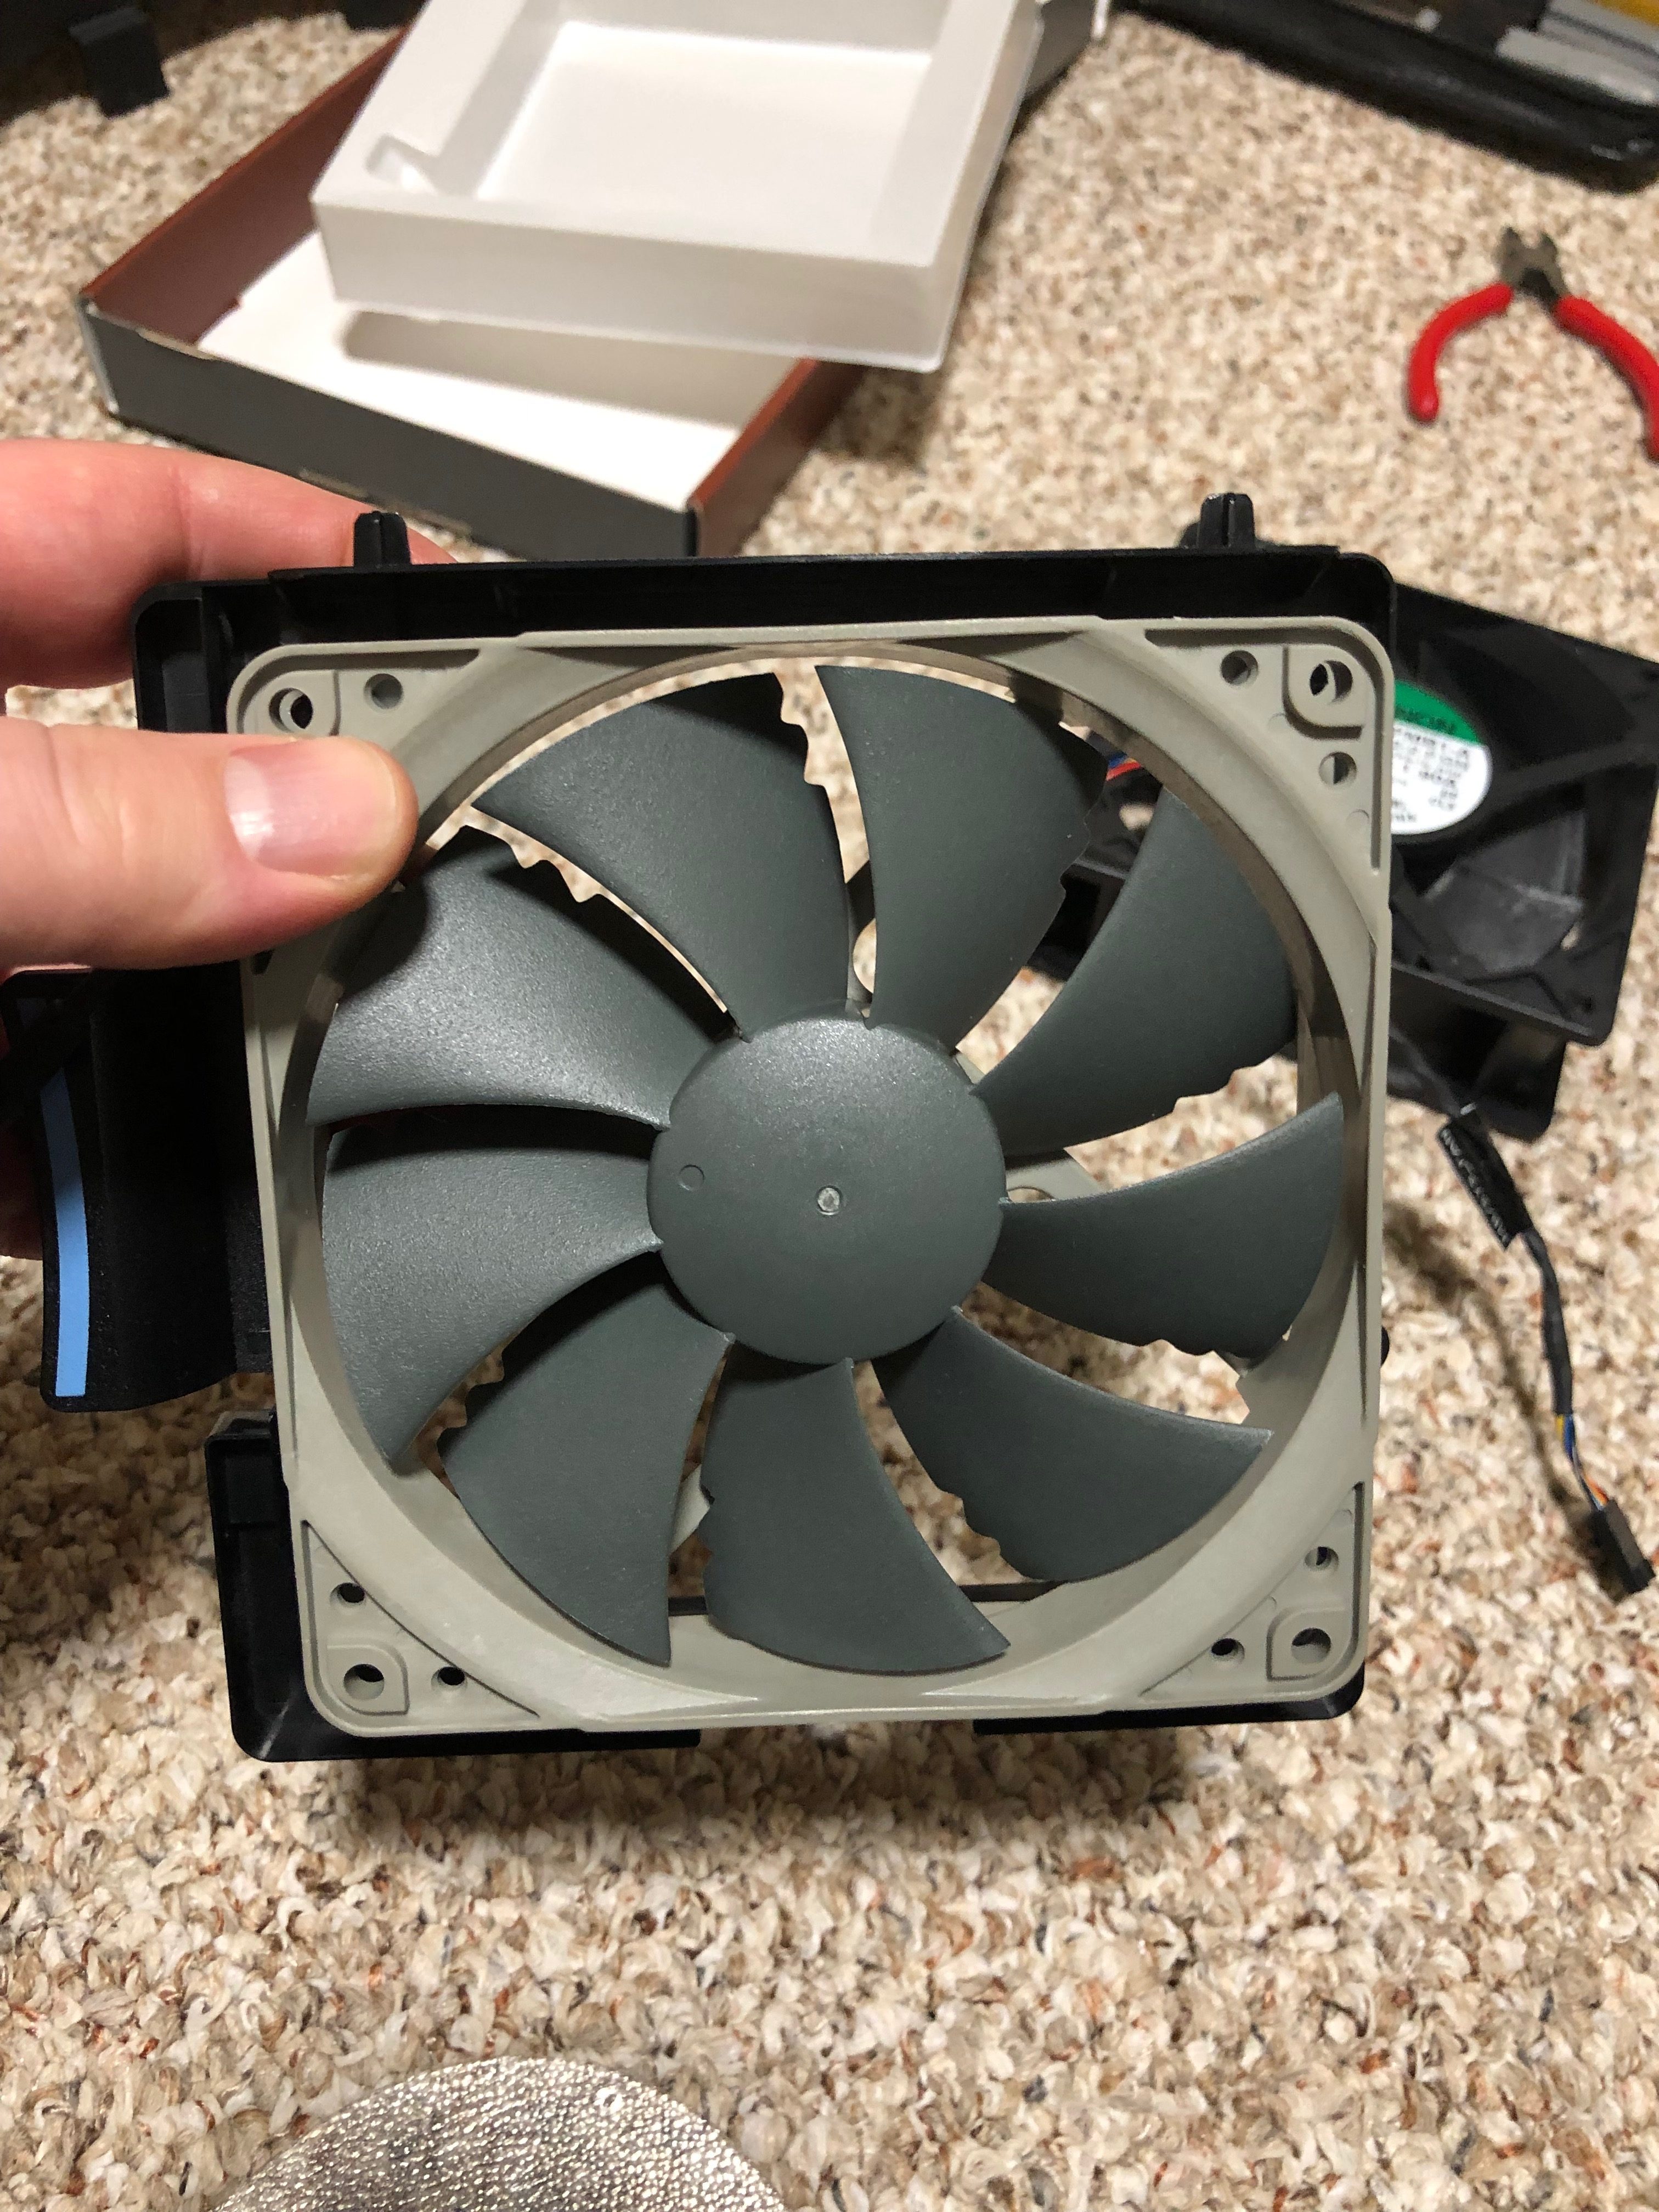
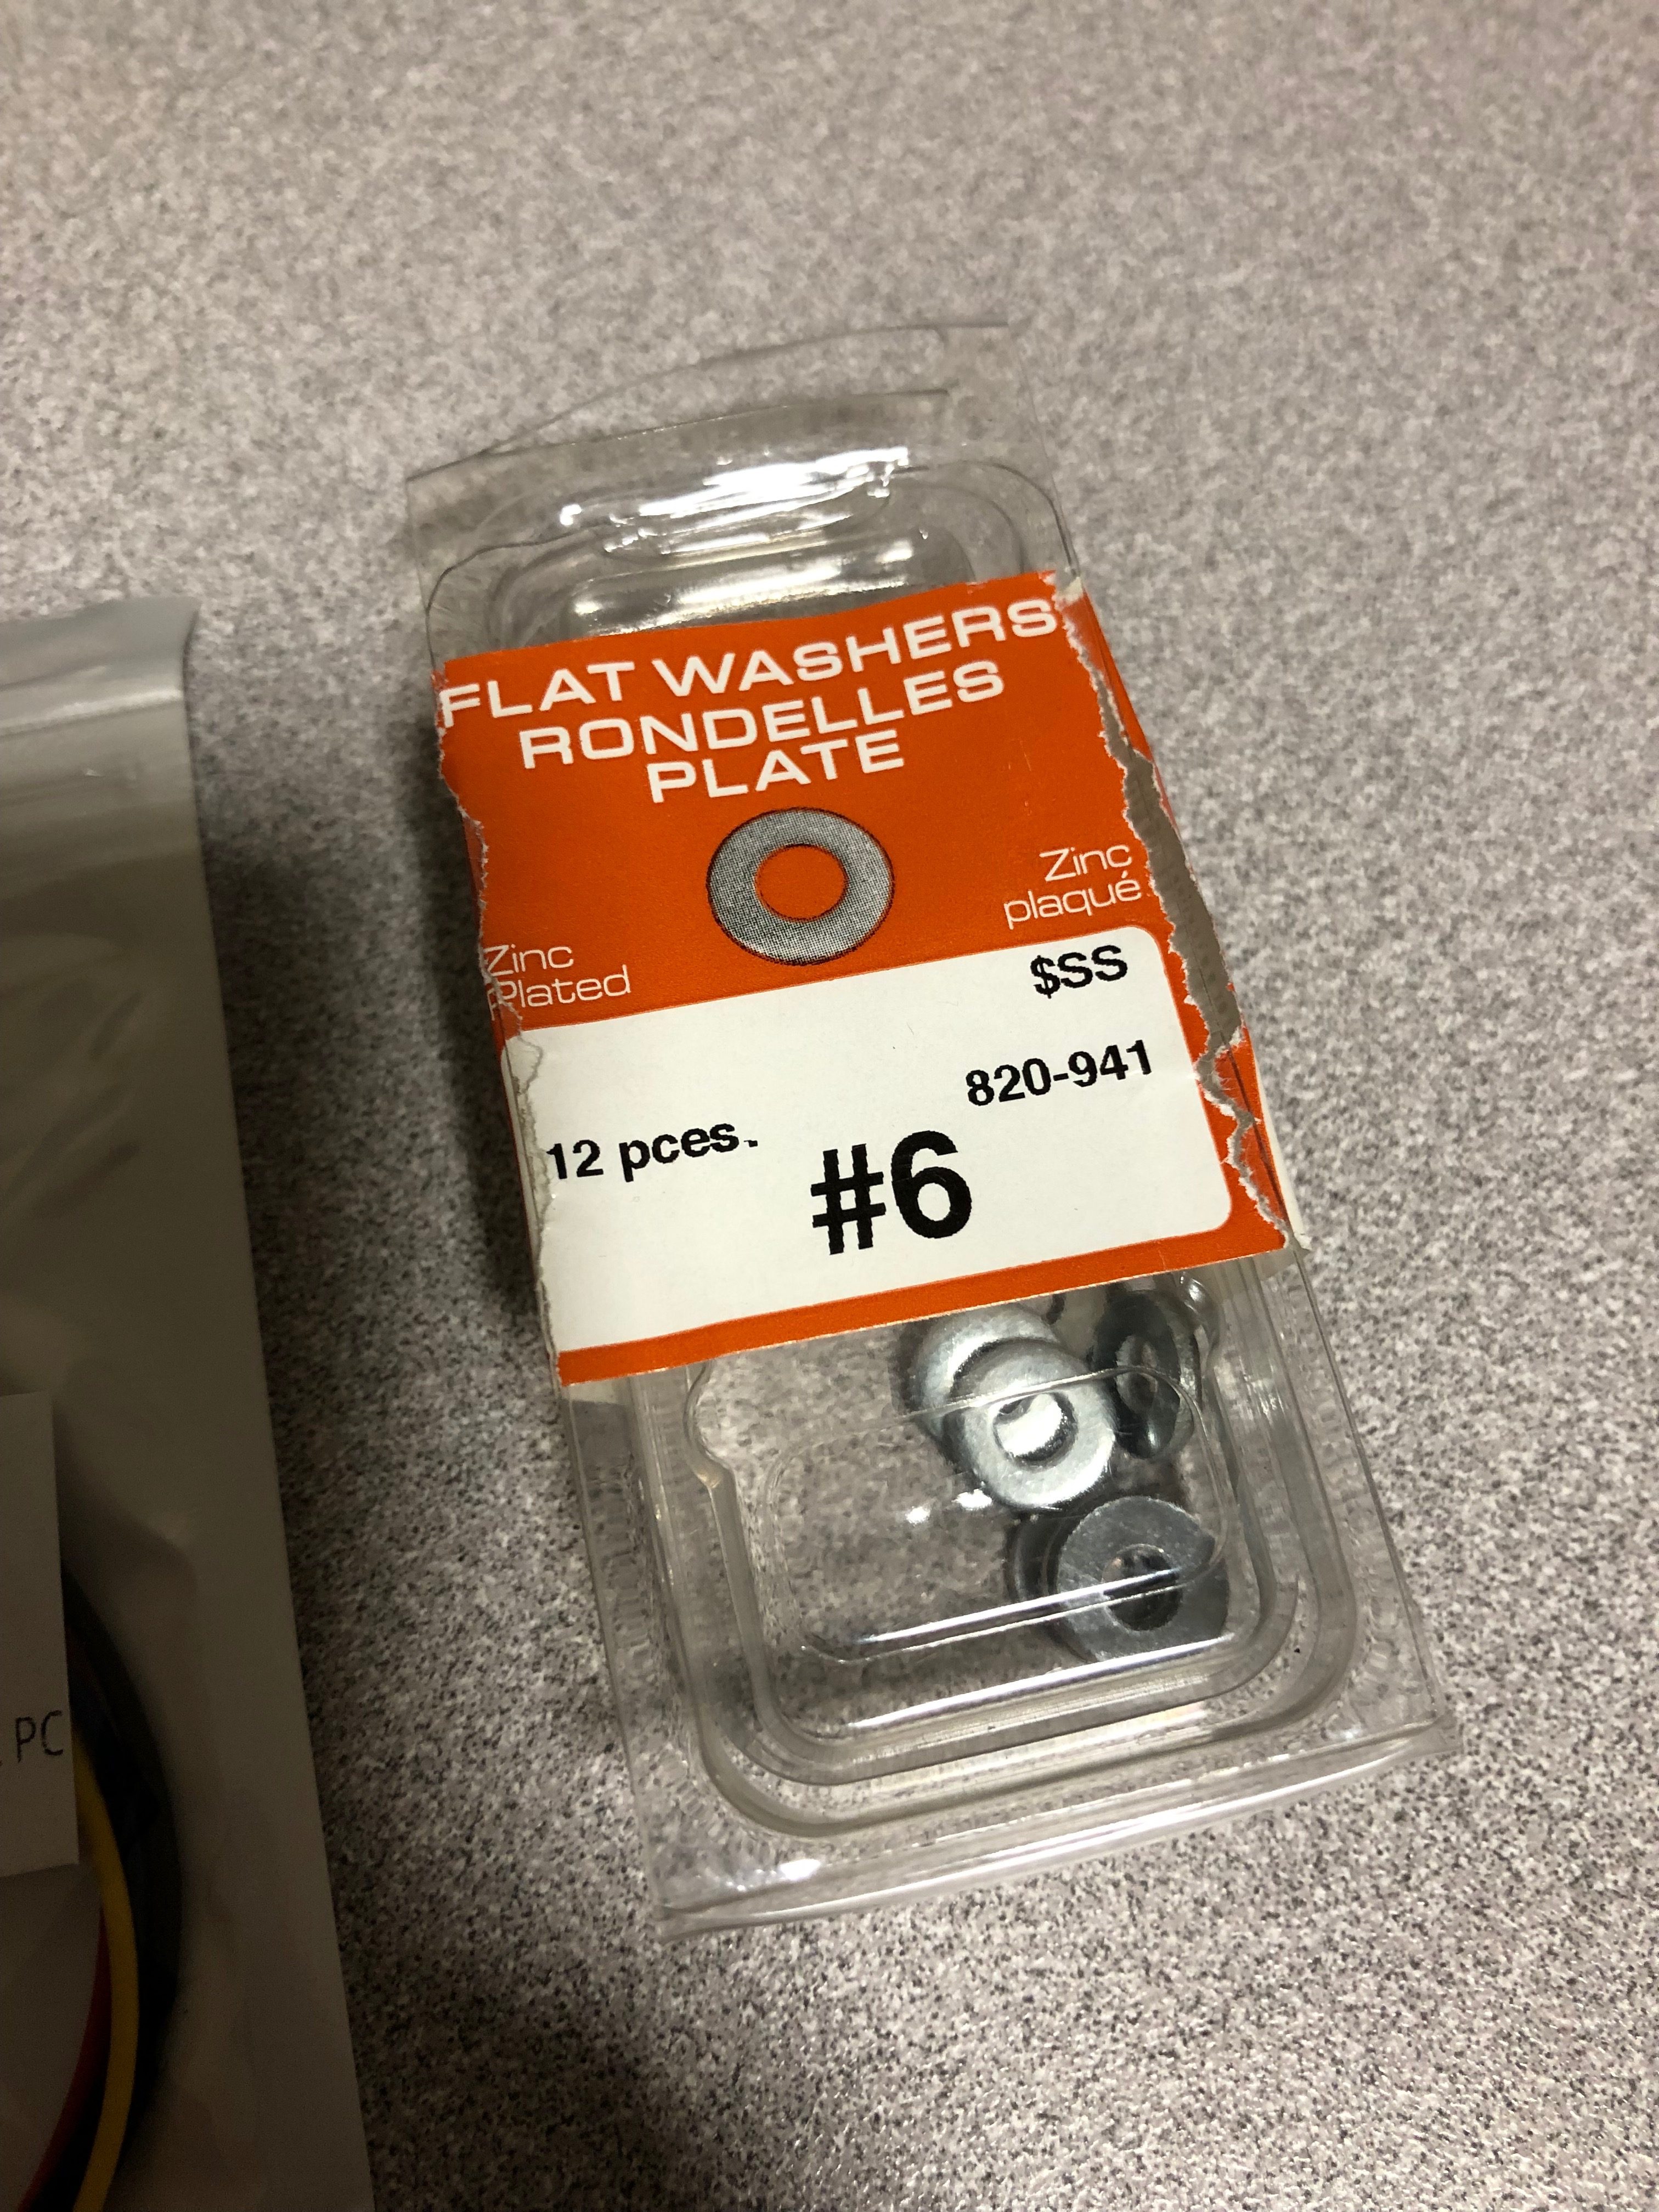
After taking a few measurements I determined that a 96mm fan should fit nicely on the OEM CPU heatsink and any old 120mm fan will work to replace the case fan. I ended up purchasing the following:
- Noctua NF-P12 redux-1700 PWM – 120mm case fan replacement
- Noctua NF-B9 redux-1600 PWM – 96mm cpu fan
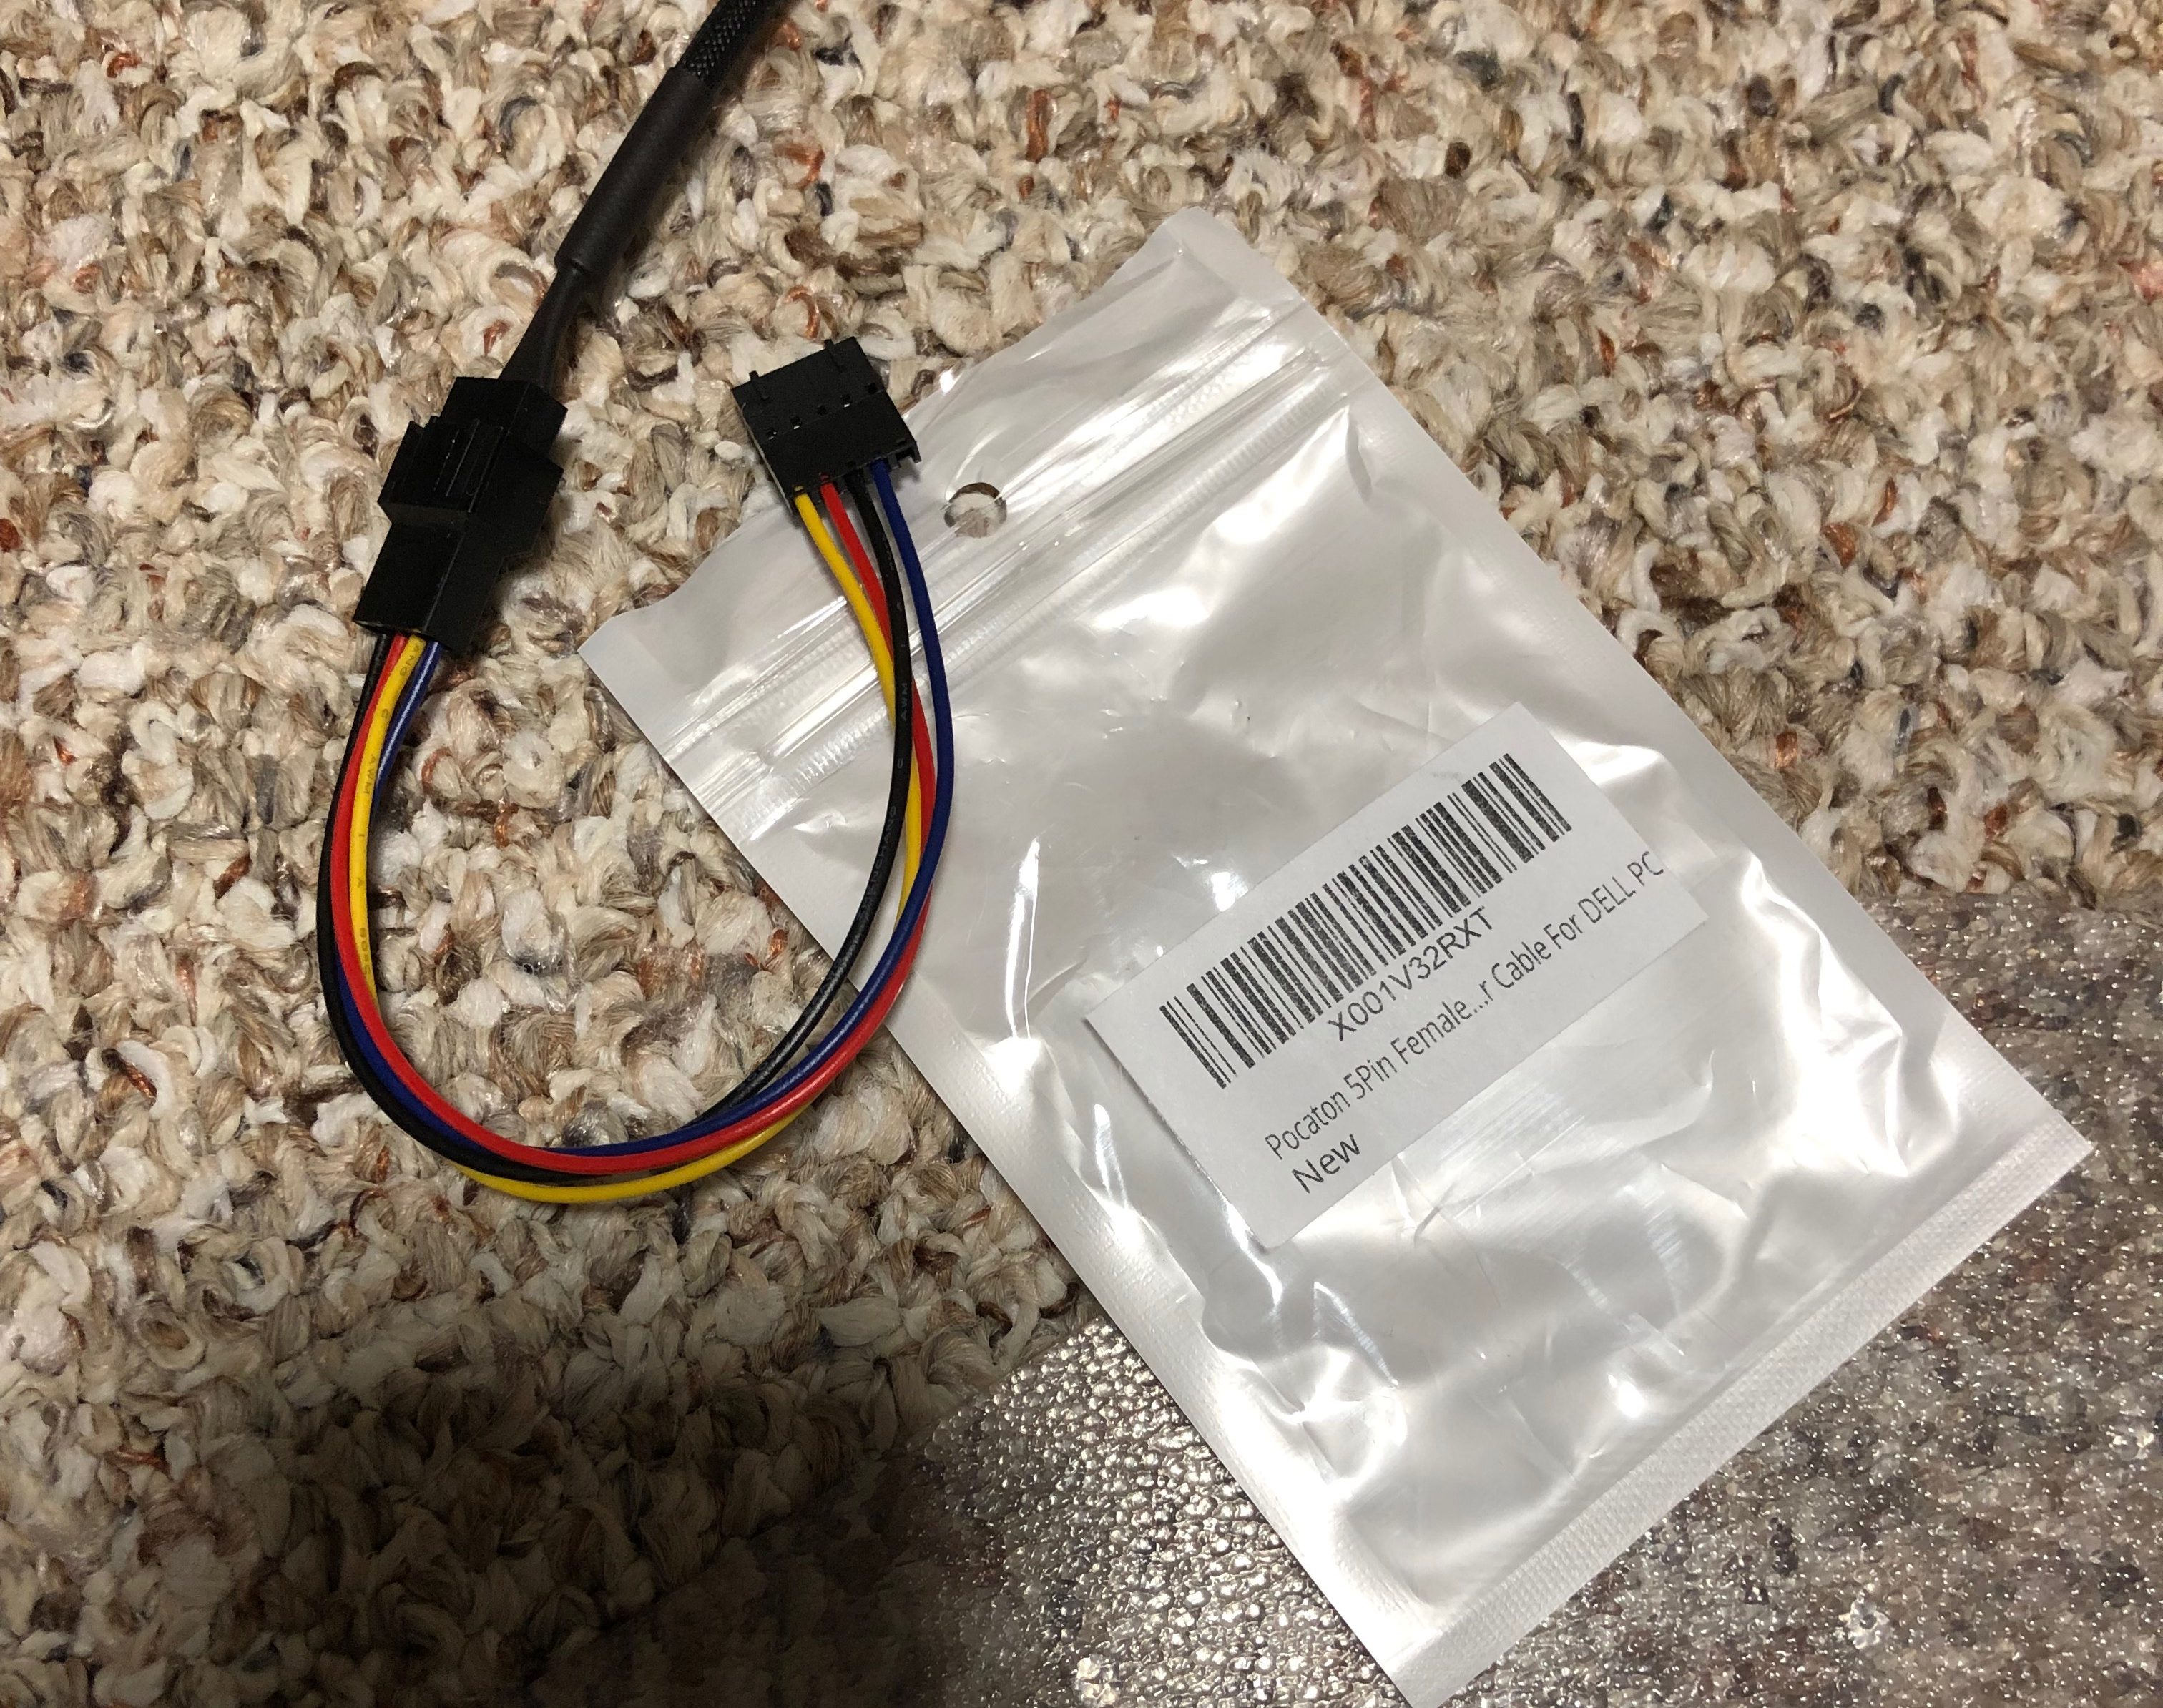
One other problem with the T340. There is only a single on-motherboard connector for a fan and it’s a proprietary 5-pin connection and there are only two SATA power connections available so in addition to the fans I purchases:
- Pocaton 5Pin Female to 4Pin Male Socket Adapter [Non-referral link]
- Noctua NA-SAC5 – SATA -> 4pin FAN connector
- Noctua NA-SYC1 – 4pin FAN connector slitter
With the above adapters I can connect the 120mm fan directly to the motherboard with PWM support which should keep the iDRAC (BMC) happy and adapt one of my SATA power connectors into two fan connectors in case I decided to install a 3rd fan (more on that later).
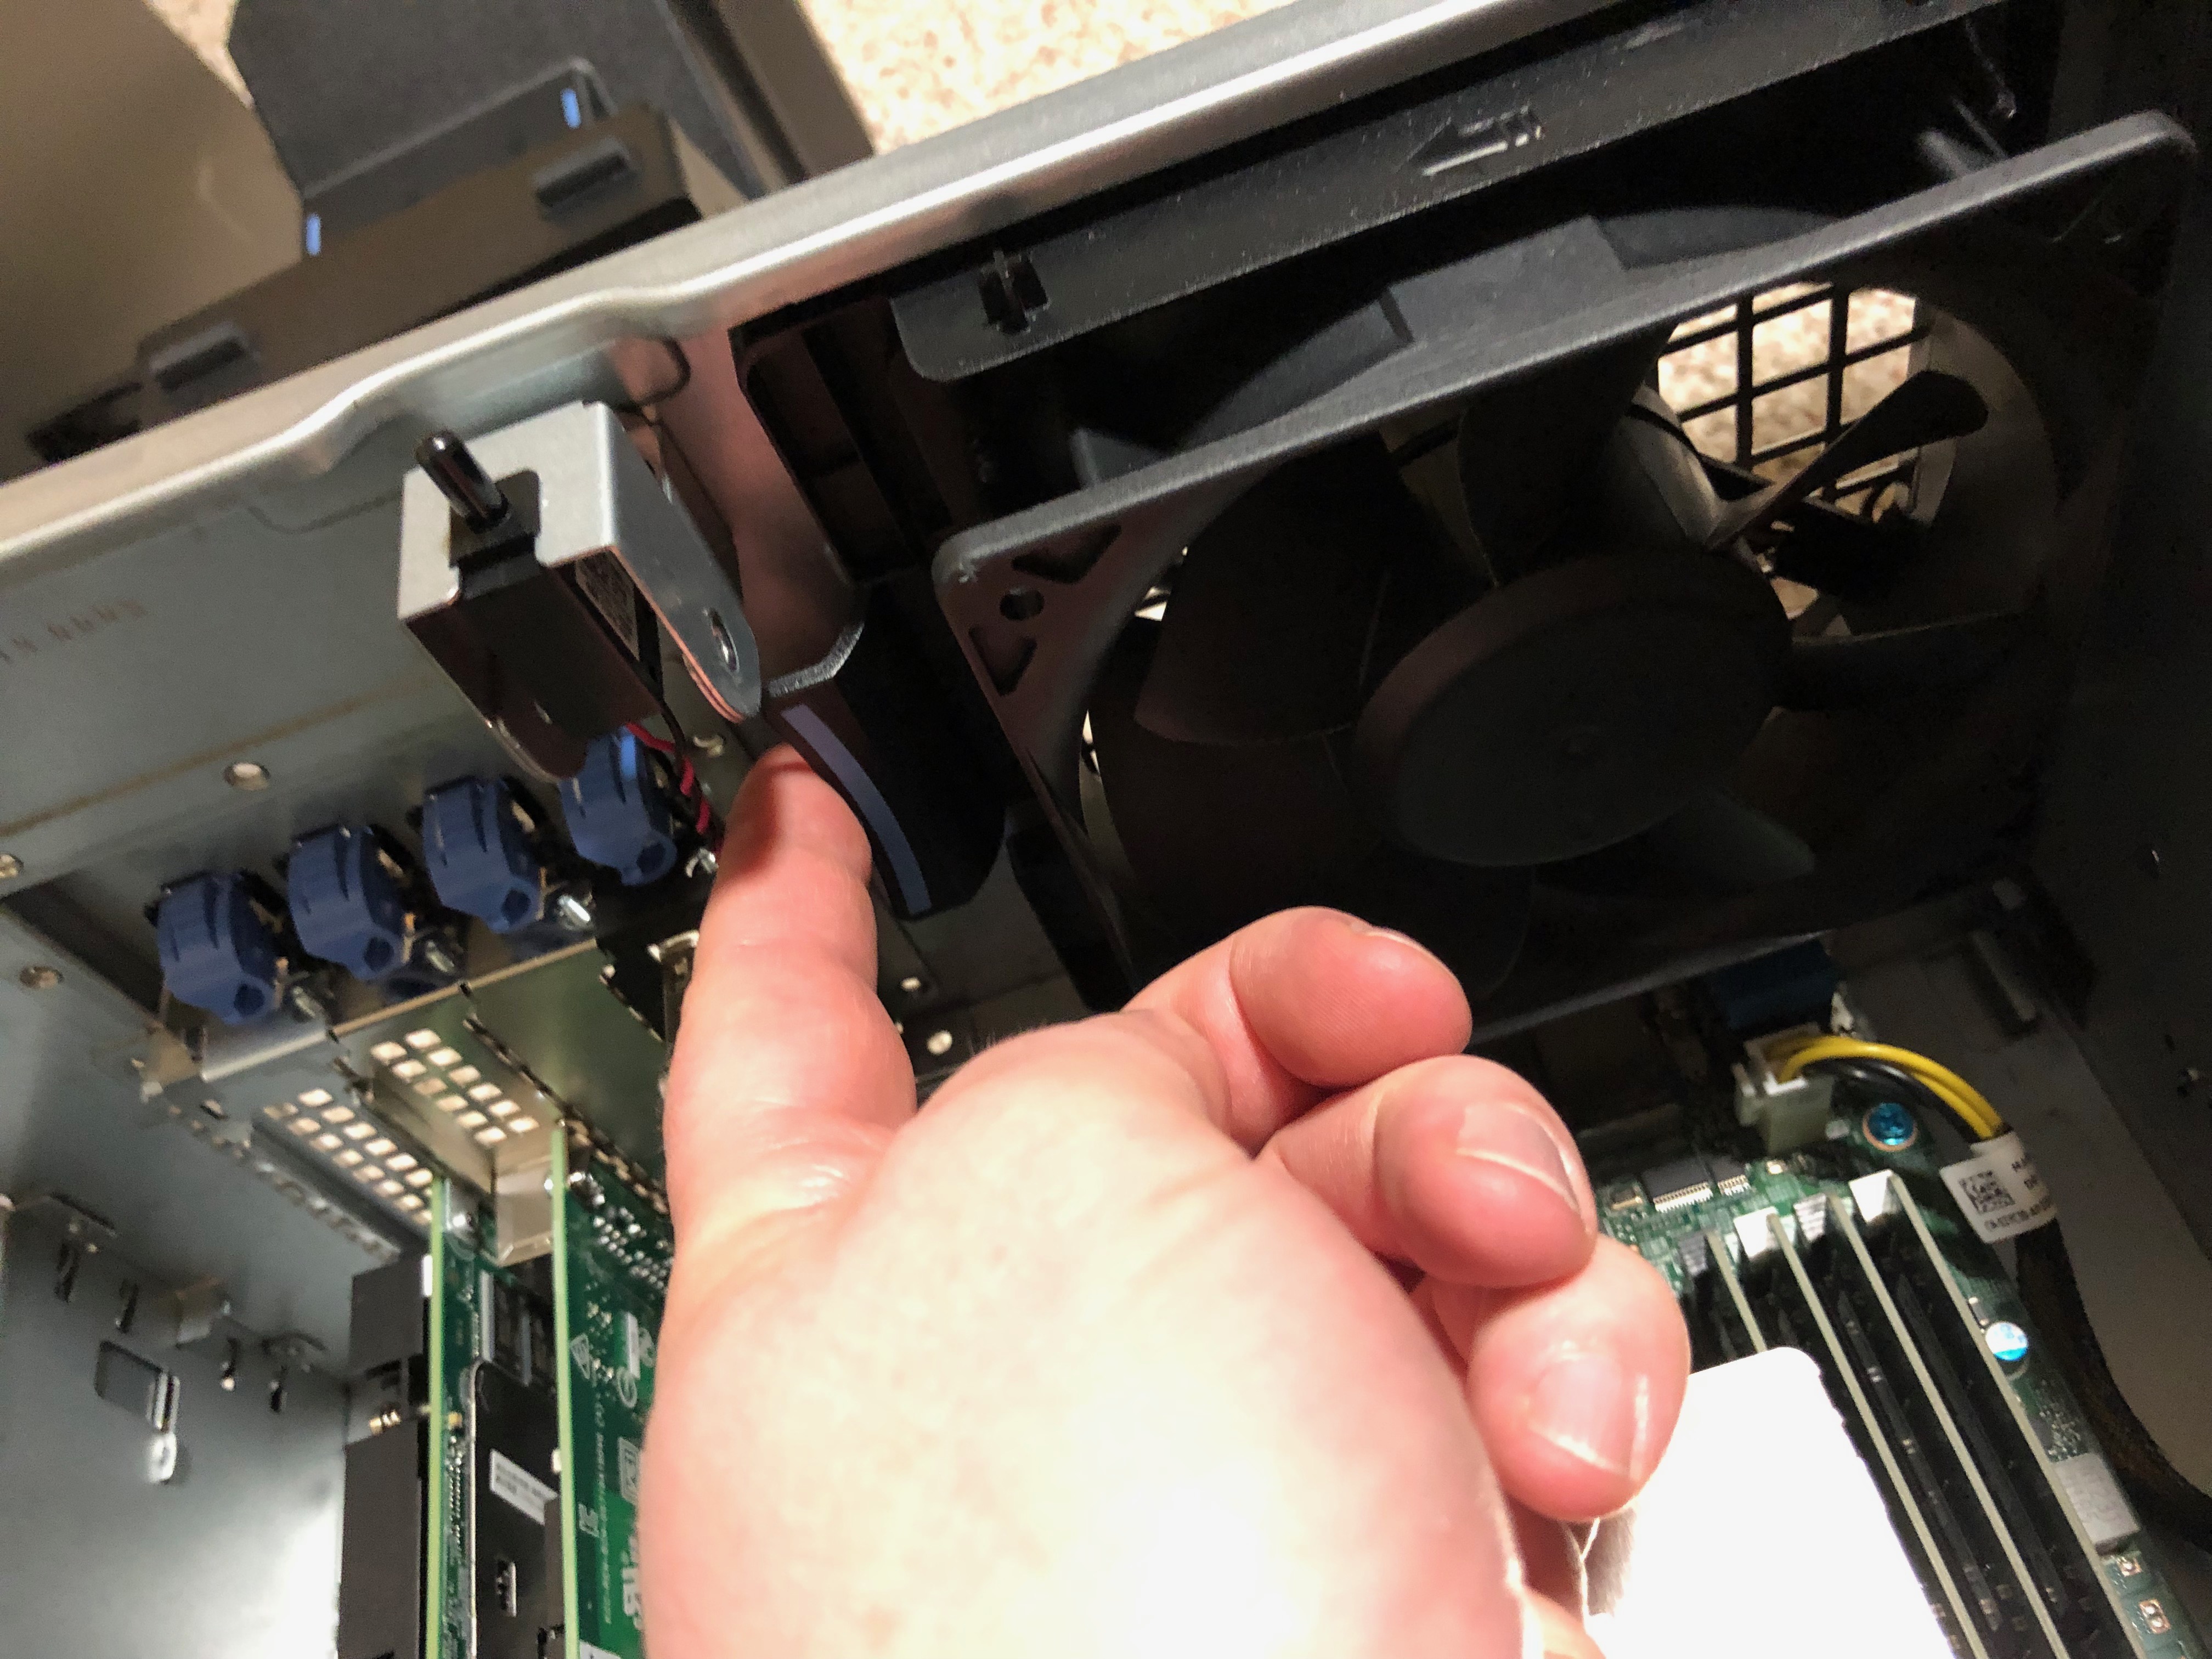
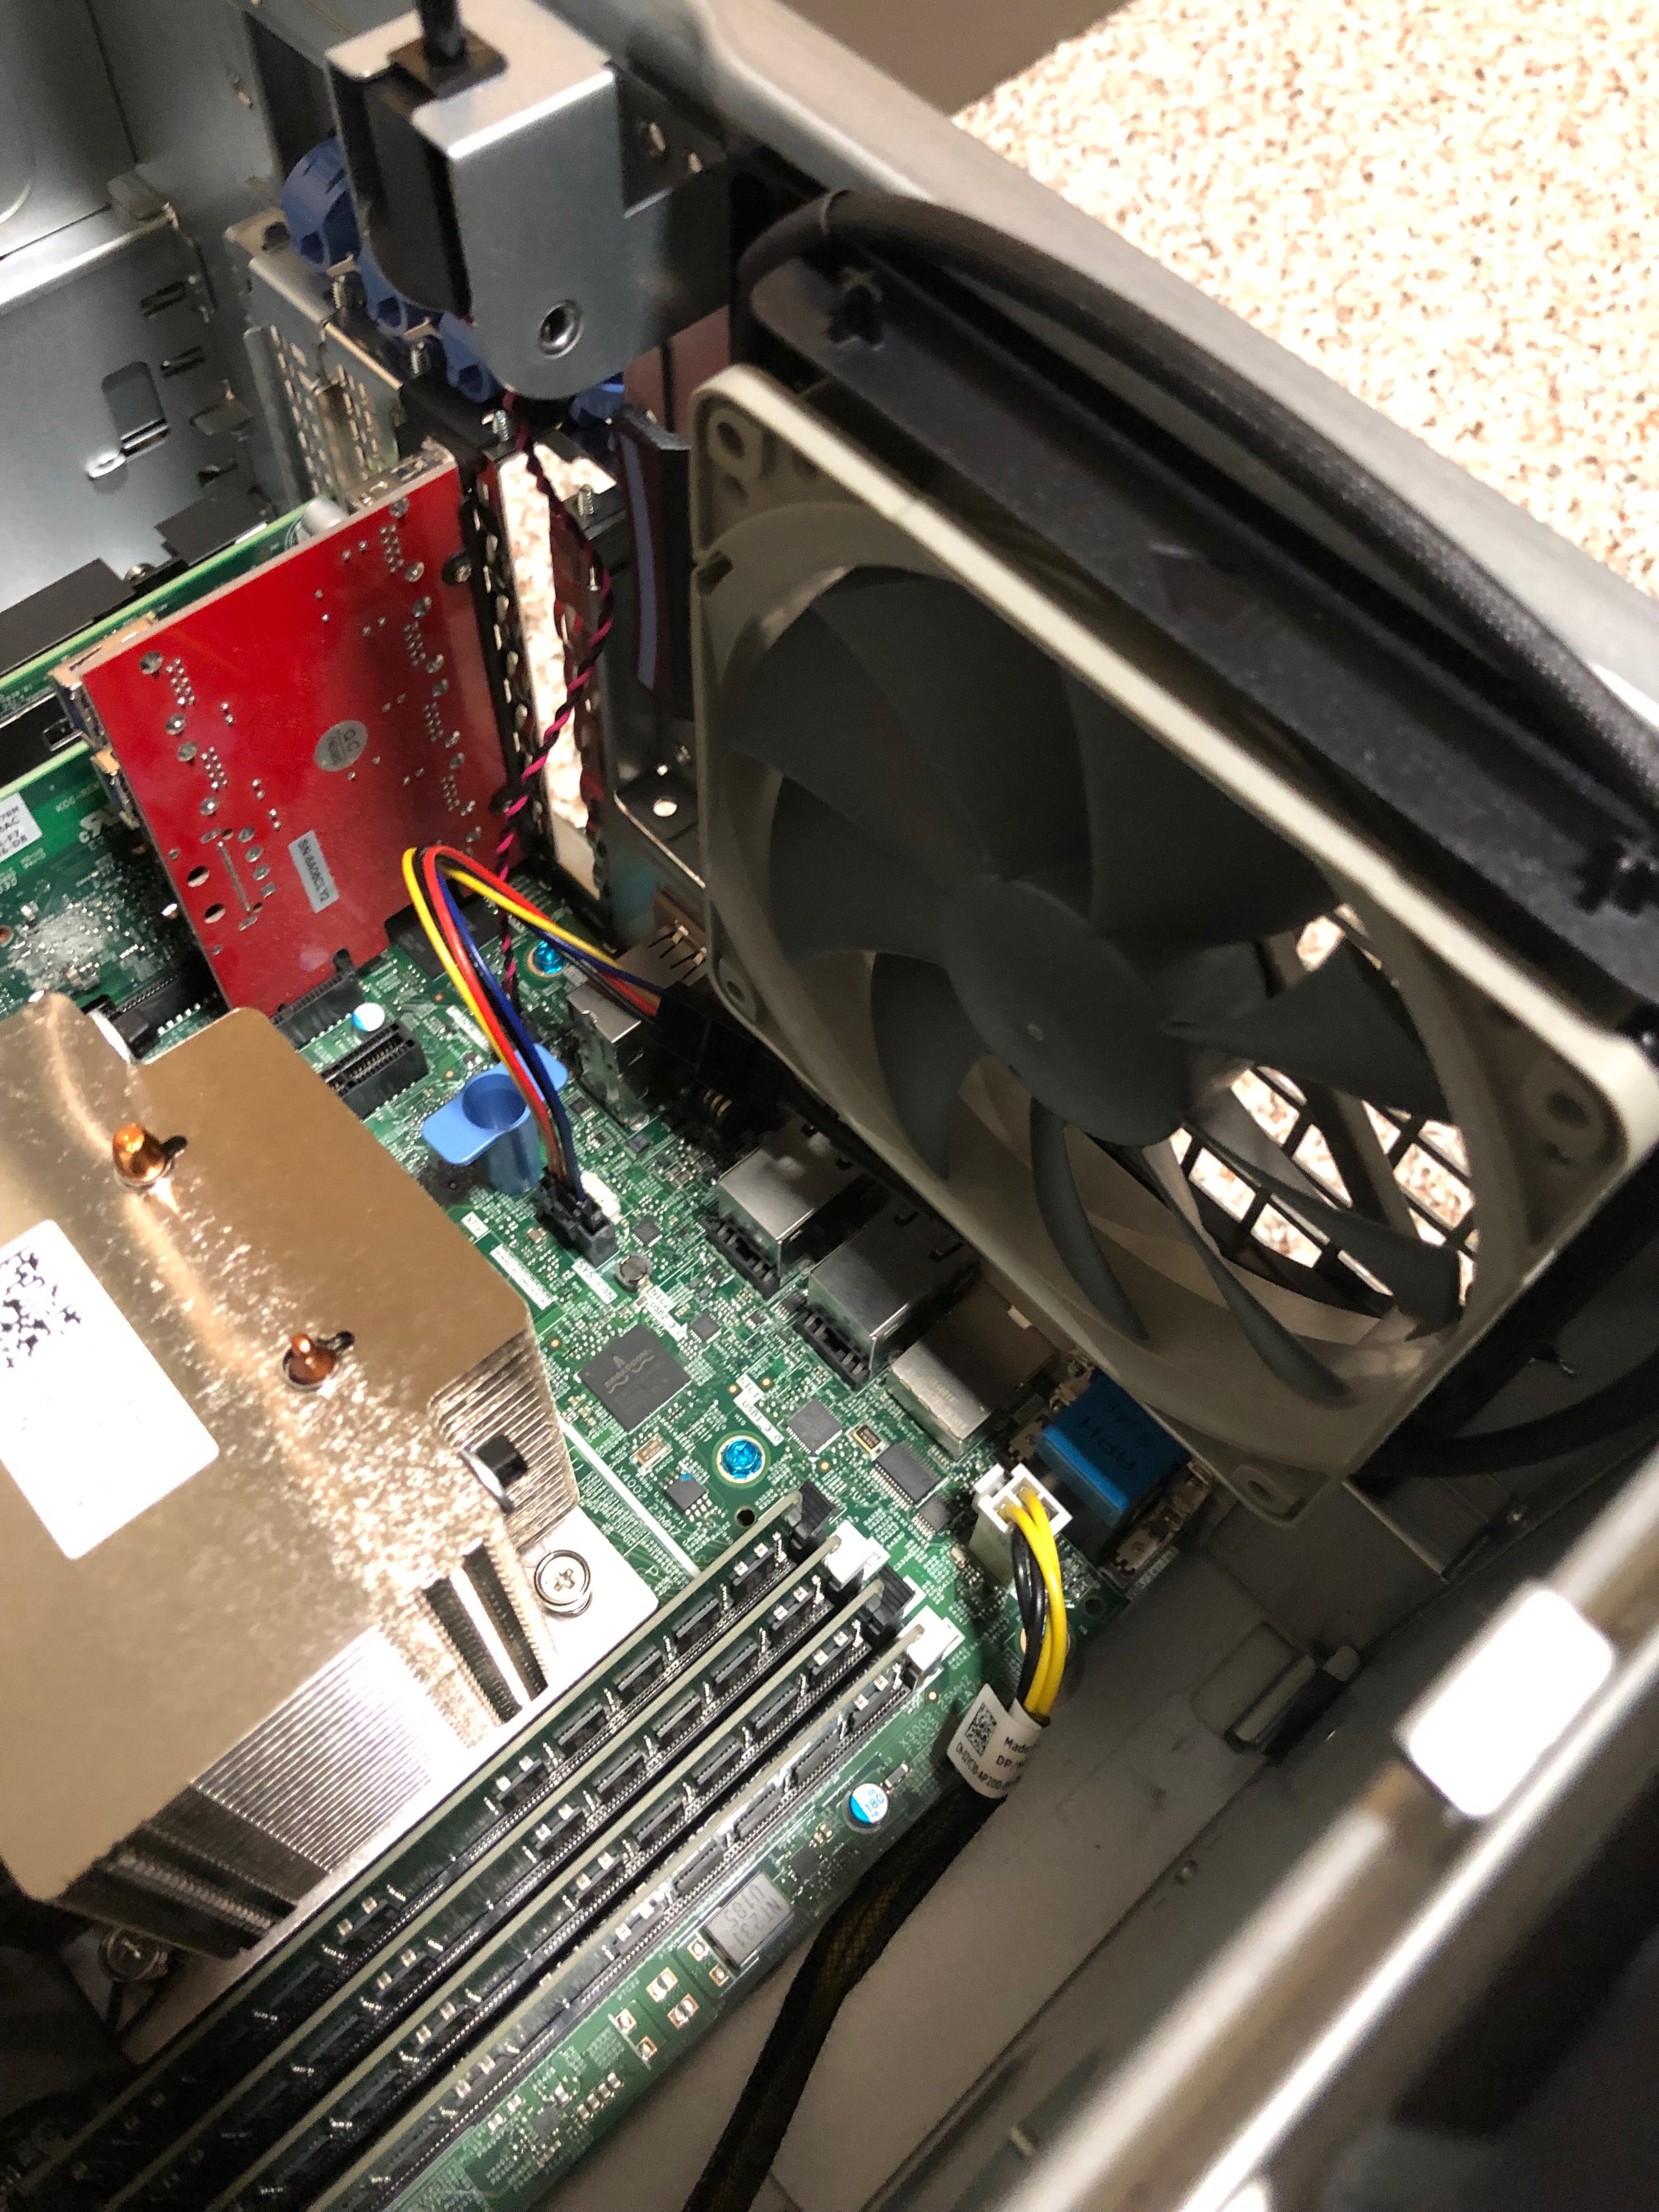
Replacing the 120mm is trivial. Release the bracket holding the current fan, disconnect the power cable, remove the OEM fan, install your replacement fan, connect the 4-pin -> 5-pin adapter, slide the fan back in place and connect it to the motherboard.
Next up is the CPU fan, this one is a bit more tricky since there are no screw mounts for it. I found this trick online:
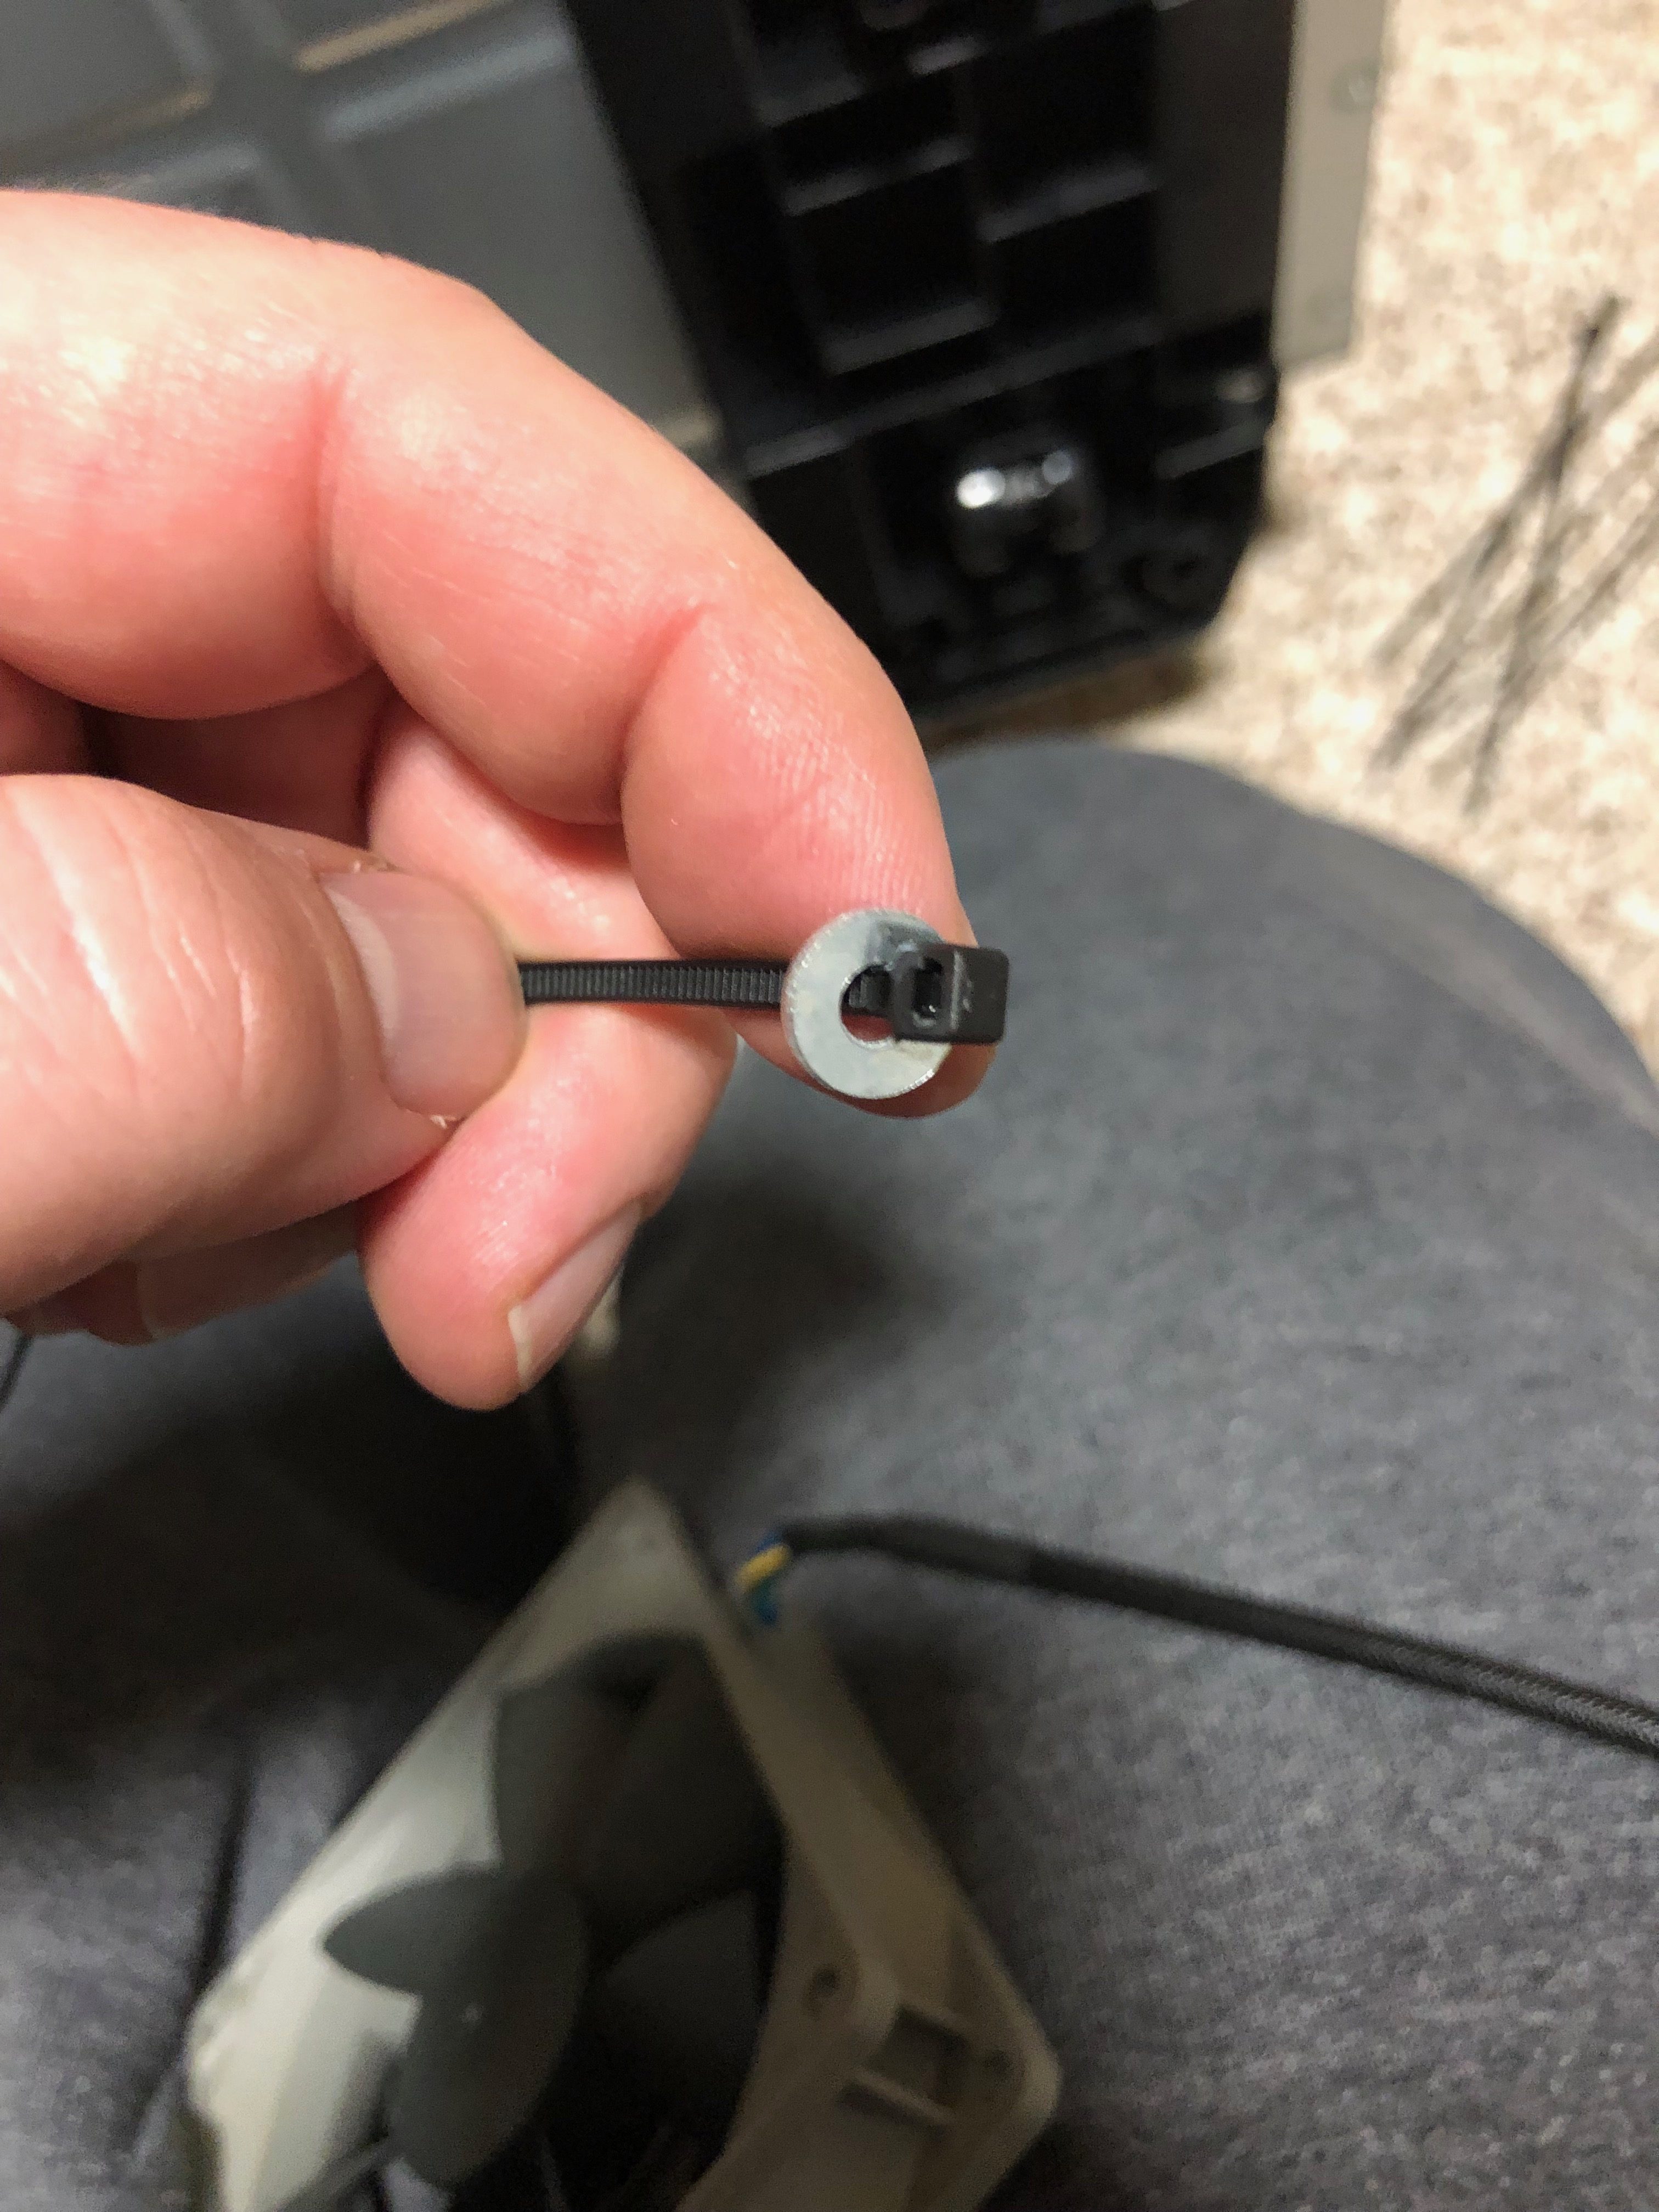

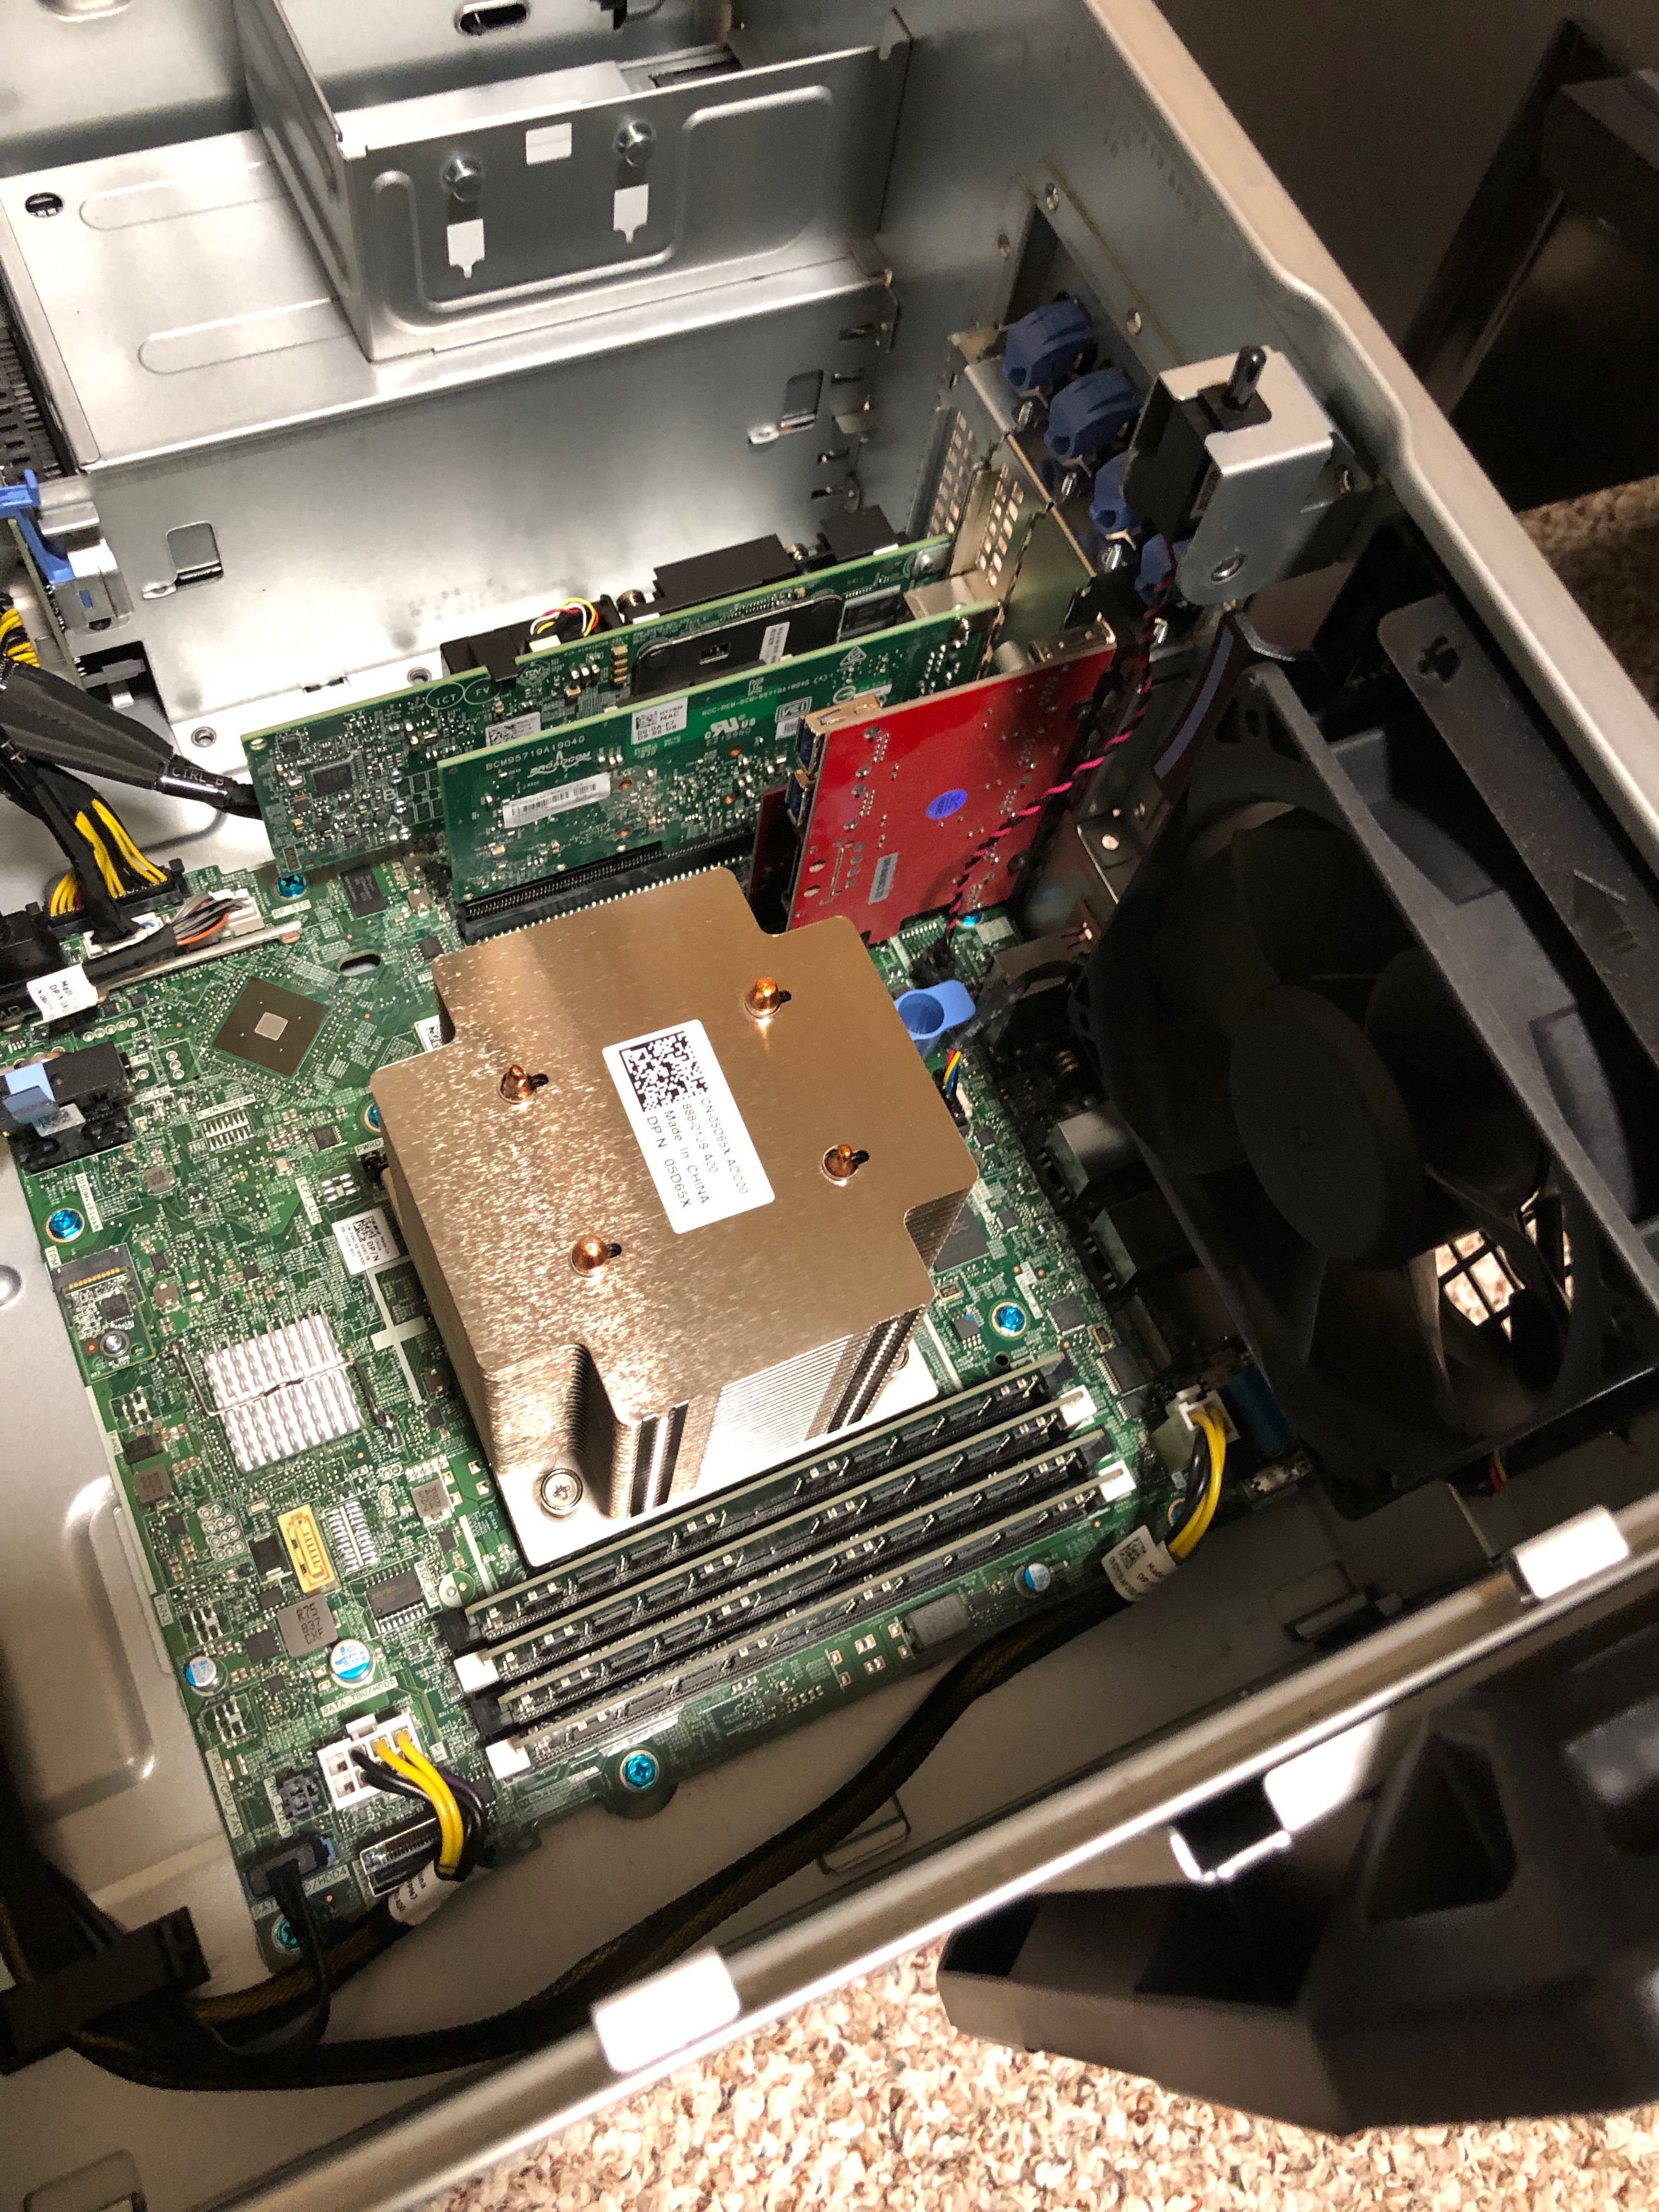
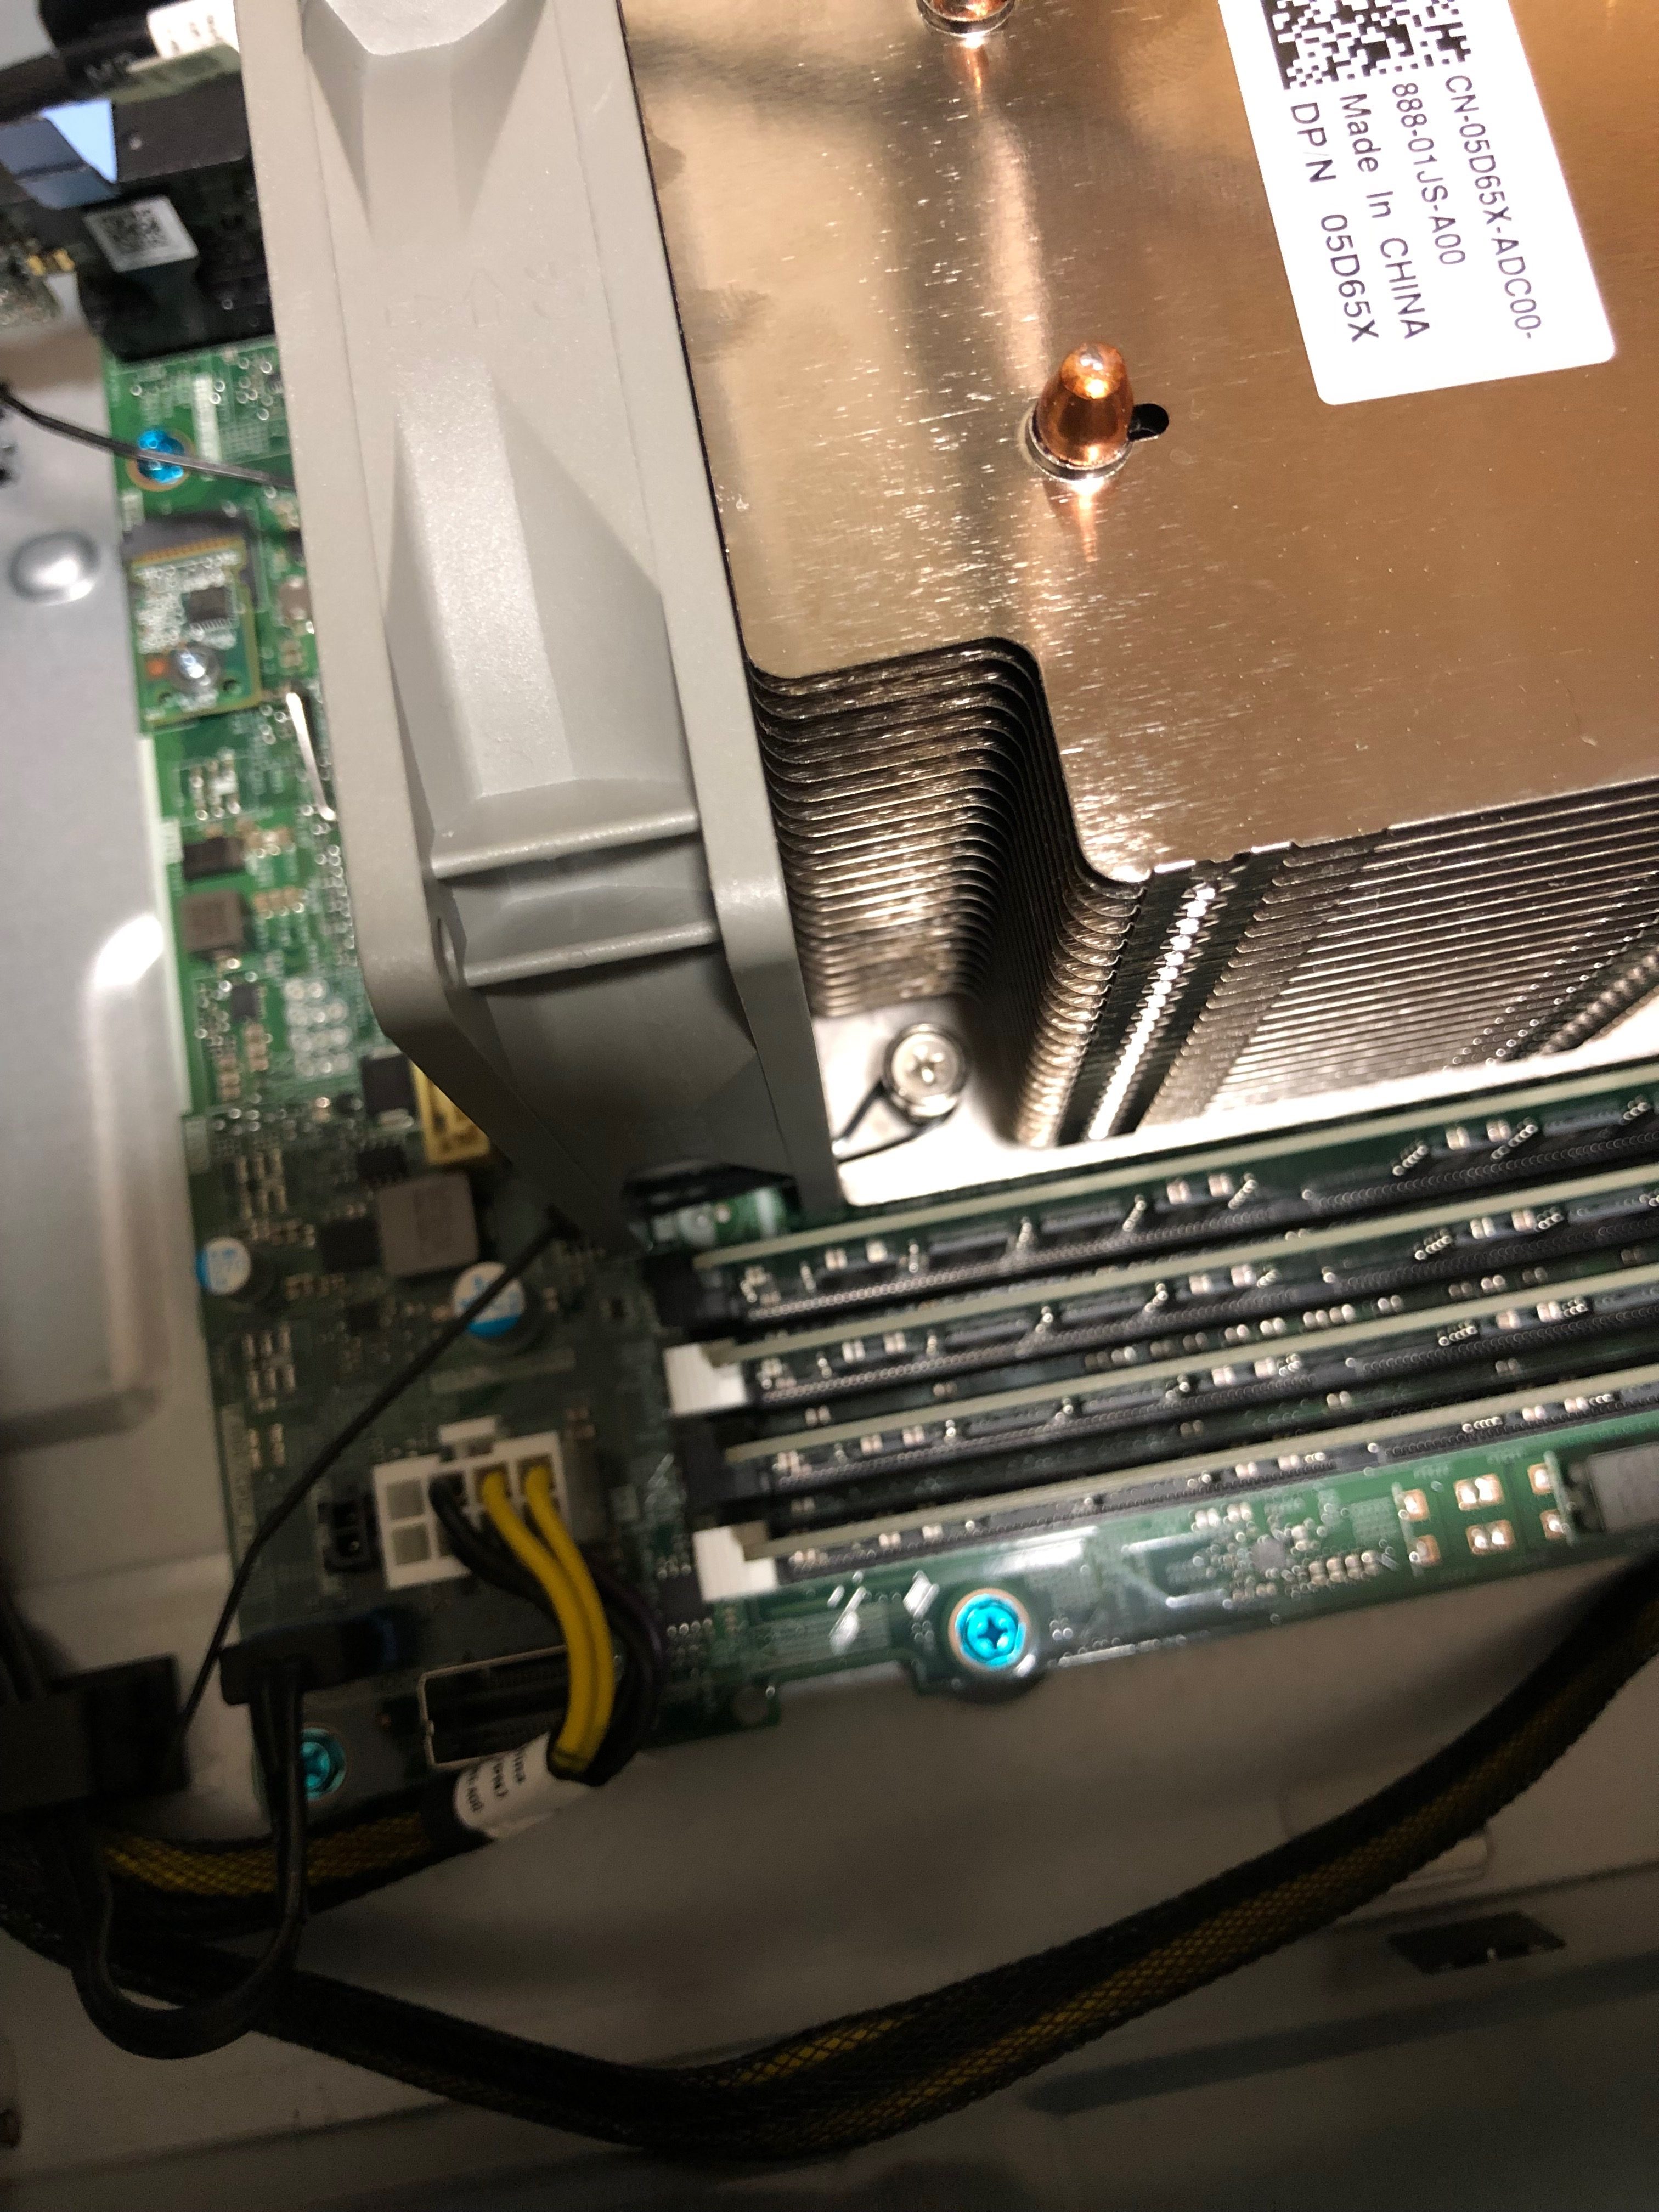
You’ll notice in the heat sink photo I ran 4 zap straps through the heat sink. In the end I removed the bottom two and went with an alternative solution. That small heat sink you see is just high enough that it pushed the fan I was going to put on the CPU heat sink up 2-3mm which would have caused the top of the fan to rest above the top of the CPU heat sink. This would have likely caused problems re-installing the shroud and could have caused the fan blades to impact the heat sink causing a failure or annoying ticking noise.
Instead I did the following for the bottom two fan mounting holes:

Finally I took two additional zap straps and fed their locking heads on to the top two straps on the fan and tightened everything up:
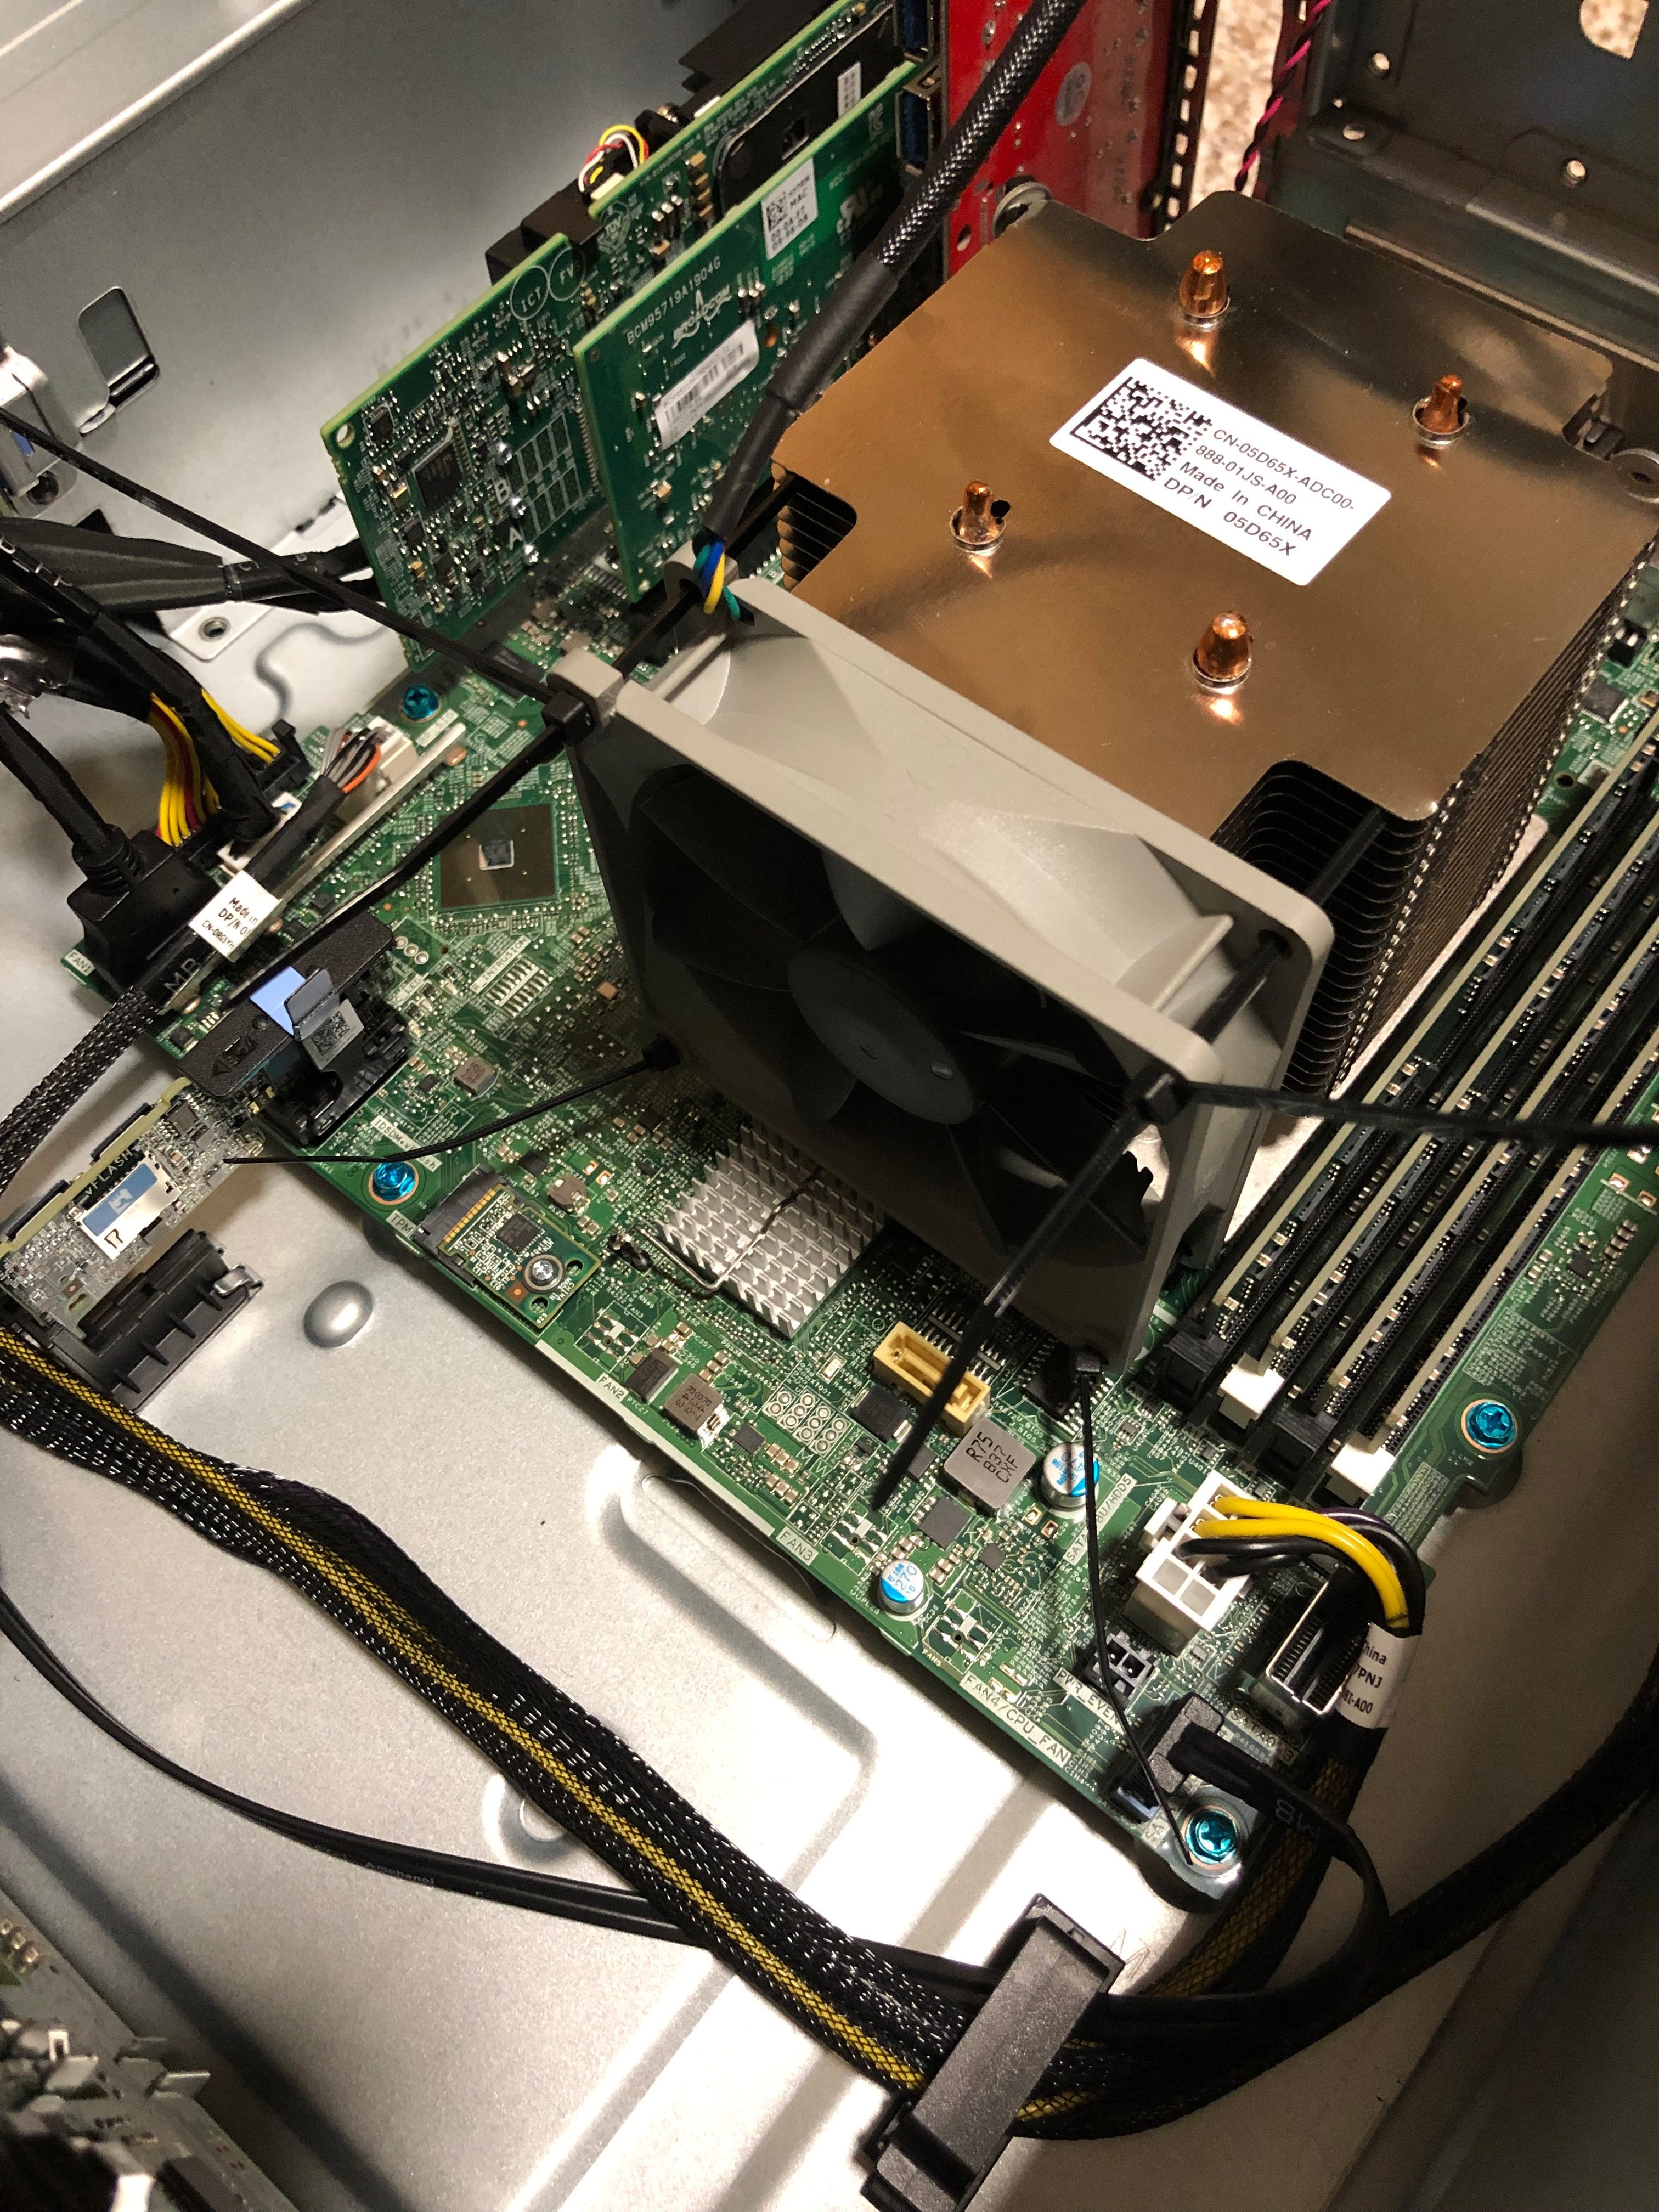
After verifying everything was snug and the fan fired up I snipped off the excess zap strap ends and re-installed the shroud over the CPU and powered everything back up.
My T340 is now nearly silent. I think the hard drives might be louder than the fans inside the case at this point.
Shortly after booting the system back up the iDRAC started complaining about the fan’s speed. The OEM fan is 6000RPM and the replacement fan is only 1700RPM. To address this I did the following:
- Login to the iDRAC
- Click ‘System’ and ‘Overview’
- Click ‘Cooling’
- To the right of ‘Fan Overview’ click ‘Configure Fans’
- Change the ‘Minimum Fan Speed in PWM (% of Max)’ to “50” and click ‘Apply’
Since making this change I haven’t received further fan speed warnings and I still can’t hear the fans.
Unfortunately I was not doing any kind of temperature logging with the OEM fan installed so I can’t comment on whether or not this has made the CPU temperatures higher or lower. If I were to guess I’d say the overall operating temperature has increased with the custom fans over the OEM fans.
I ran my server with the custom fans for about 24 hours before I got some logging configured.
Right after I configured temperature logging I shut down my server and installed one additional 140mm fan in the 5.25″ cage to suck fresh air into the case. I also removed the shroud thinking that cooling would be better with out it.

To get this 140mm fan to stay in place I used two small pieces of double sided duct tape.
Finally, here is the CPU temperature over the last 3 days:

Looks like my average temperature is 40c with spikes up to 55-60c. These numbers are within the Intel recommended maximum of 100c but I’m not liking these numbers.
Before I removed the shroud and installed the 140mm fan I did have some temperature readings:

The area to the left of the red line was with the shroud still installed. It appears with the shroud installed the average temperature is still the same but the spikes are less severe.
I’m out of town right now but when I return I am going to re-install the shroud and run my server for a few days to see if the above remains true. I will update this post accordingly.
Update 2019-05-25
Here is 7 days of standard load on my server with the shroud installed. Doesn’t seem to make much of a difference. That being said, these temps are a little high for my comfort. I’m going to get a Noctua CPU heat sink the next time I have $150 lying around and will create a new post with it’s installation and operating temperatures.

I just put a fan from a T440 into my T340 with the 4-pin to 5-pin adapter. I’m running Server 2019, Exchange 2019, Office 2019 and Quickbooks 2019 on the server along with file sharing of course. The temps are 36c-38c with spikes up to 45c. Only 1 day of testing so far but I can live with that over the extremely loud fan noise. If it weren’t for the lights and the HD chatter every now and then, I wouldn’t even know it was powered on. Interested to see if the Noctua CPU heat sink makes a big difference for you or not.
I can’t believe with the amount of space inside the T340 Dell didn’t do something more sane for cooling. They could have easily put a silent CPU cooler in the T340 with 2-3 140mm case fans that run at low RPMs.
I just checked out T440’s at work and they have a single big fan at the back as well. Does it run quieter than the stock T340 fan? I would have figured it was the same or more powerful.
Oh yeah, nice and quiet!
This solution still working well? Temps still good? Seems like an excellent solution. Did you have to get the fan from Dell or were you able to find it elsewhere?
Temps are OK, I wouldn’t call them amazing. Here is all the data I have up until I turned off SNMP on my DRAC because I completely forgot I was monitoring my CPU temperature via SNMP.
I recently purchased a 3D Printer so I’m looking at designing a proper shroud for the heat sink that I can attach 2x92mm fans to it.
I just purchased a Noctua fan from Amazon.ca. My parts list is in the blog post.
Very nice job ! I also have this problem.
Why not replacing just the 120mm fan ? I don’t feel like attaching a fan against the cpu…
Thank you for this post !
I wanted a little extra constant cooling on the CPU. Since it’s passively cooled by the large 120mm I figured the lower airflow of the new fan might cause me some grief. I’ve narrowed down that it appears the T340 has a standard CPU socket so next I’m going to try putting a proper CPU cooler on.
Did you have any luck with mounting a proper CPU cooler on it?
I have not. I ended up giving up.
Thank you so much Eric looking forward to see that, and doing the same !
Question on your configuration. Are you using stock Dell OEM hard drives / SSDs or are you using third party drives? I have found that with the Dell Rack servers in the 40 series (R240, R440) that if you use any non Dell OEM drives of any type the server runs all fans in the computer at max RPM all the time. Basically turns it into a jet engine and you can not be in the same room with it and keep your sanity. Dell justifies this by saying that since they are not certified drives they do not know the power / heat profiles of them. It’s more obviously an attempt to force people to only use Dell drives for the extra money they generate since previous Dell server generations did not do this.
Trying to figure out of this applies to the T340 as well.
Thanks!
Near as I can tell I’ve been able to manually configure the fan speed via the BMC.
I am not using any official Dell drives in my server. I have a smattering of older Enterprise class SATA disks, the models are:
ST4000NM0033
ST3000NC002
ST33000650NS
ST3000NM0033
It’s possible these just so happen to be the correct models that Dell can recognize.
I’m currently saving up for a storage upgrade (2x2TB SSDs and 4x10TB HHDs). When this happens, if I remember, I’ll post an update here whether not these drives trigger the fans.
What Noctua cpu cooler did you find that would fit and work?
I have yet to find a 3rd party heatsink that fits.
What about the Noctua NH-D9DX i4 3U?
Didn’t even know this existed. Neither did Noctua Customer Service apparently. It LOOKS like it might fit. I’ve ordered one off Amazon and will update my post accordingly.
I received my NH-D9DX i4 3U and the screws are slightly too large to fit. I am basing this on a visual comparison of the photos I took of the OEM heat sink and physically holding the NH-D9DX i4 3U. I am confident enough in this comparison that I don’t want to take everything a part to confirm.
I got a customer with one of thes eloud T340’s
I am ordering just the 120MM fan but the 2000 PWN version.
I am sure it will be able to handle the airflow just fine, especially if I set the fan curve to be on the med/high side, anything is going to be quieter than the turbo jet that dell put in there.
Thank you for your work.
No problem. Glad it was helpful.
Did you get it working with the 2000 PWM and have iDRAC stay happy? I’m not getting any RPM data in Fan Status.
with the 2000 rpm fan the temperatures are fine?
I’ve posted an update at the bottom of this page: https://www.pickysysadmin.ca/2021/01/25/silencing-my-dell-t340-part-3/
Shows the last 365 days of temperature monitoring. Things got a bit toasty under sustained load but otherwise I’d say it’s fine. I should probably order those two 14mm fans I talk about in the 3rd post and see if a push/pull offers better cooling.
I just replaced the stock 120mm 6000 PWM with a 2000 PWM 120MM Noctua using the 4 to 5 pin adapter, I can control the speed in the iDRAC cooling configuration by setting the Minimum Fan Speed, but it’s not registering any RPM under Fan Status. It’s just N/A, and of course the iDRAC is not happy. I’m guessing your not having that problem.
Maybe I have a bum adapter cable? Is you RPM displaying properly and you’re iDRAC happy?
Yup: https://imgur.com/10NpSYe
Mine does appear to be reporting RPM speeds and keeps the light blue on the chassis.
I just got a 3D Printer so I’m planning a Part 3 after I print a shroud I can put over the heat sink and hopefully mount dual fans to it :)
It’s driving me nuts. I verified my Pocaton adapter is the same as yours. Verified the continuity all the way to the fan. I went with “Noctua NF-F12 iPPC-2000 PWM, Heavy Duty Cooling Fan, 4-Pin, 2000 RPM” and it will not report the RPM. Either it’s a bad fan or something has changed. I did just update the iDRAC firmware to 4.22.00.00 which just came out before I installed the fan. The original fan was reporting RPM fine before I took it out.
I see that the RPM reported in the screenshot is 2280. Are you still using the NF-P12 redux-1700 PWM, that has a max RPM of 1700 doesn’t it? Guess I’ll try ordering a new fan. What a hassle.
You’re right I did buy the “Noctua NF-P12 redux-1700 PWM”. I don’t remember paying enough attention to see that the fan speed was wrong after installing it :)
Specifically I ordered these (non-referral links):
https://www.amazon.ca/gp/product/B07CG2PGY6?psc=1
https://www.amazon.ca/gp/product/B073XJV5L9?psc=1
I also tweaked the cooling settings in my DRAC: https://imgur.com/a/6qobgy4
I am running the latest DRAC firmware. Maybe mines the one that’s broken and I just got lucky in the way it broke.
I’m looking at the original fan and the wire colors left to right from pin 1 are:
Black / Red / Yellow / Blue / Black
This doesn’t seem to match what I’m seeing online with other dell systems using:
white or yellow / Red / Black / Blue
mentioned
https://www.dell.com/community/Optiplex-Desktops/780-CPU-fan-pin-out/td-p/6175786
and
https://pinoutguide.com/Motherboard/dell_5pin_4pin_pinout.shtml
So it looks like the converter cable is not correct for my T340.
Confirmed. I just switched pins 1 and 3 on my adapter and now I’m getting RPM and finally Blue iRDAC. Woo Hoo.
Odd that we have different motherboards, just glad I resolved it. If you 3d print something you like I may commission one from you. Thanks again for the blog.
Awesome you got it figured out. I wonder if you have a newer generation of Xeon which had them switch up the motherboard. I’ve got a E-2176G.
Oh, watch my blog for the 3D Print. I’ll post about it once I get there. I just got it back up and printing again so the next thing to do is take a bunch of measurements, come up with a design and buy some fans :)
If you set the cooling config to Minimum Power (Performance Per Watt Optimized) in the iDRAC config for cooling the stock fan will run almost silently even under a synthetic load. I also have not noticed any performance reductions so far.
That is good to know. I never even considered that. I assumed once the load got high enough that fan was going to kick in no matter what.
I’ve almost finished my 3D printed shroud and will be added two 92mm fans to the heatsink to see if that helps reduce my peaks and overall temperature.
A little off-topic, but related somewhat.
I run an older 12G T320 at home, populated with 2 x 500Gb desktop drives (RAID 1/OS) and 8 x 4Tb HGST Ultrastar SATA drives in the backplane (RAID 6).
I’ve incrementally been upgrading BIOS and iDRAC versions, and have gotten the BIOS to 2.9.0 (last version for that box, I think), but cannot get the iDRAC version past 2.30.30.30. Anything later, and the fans go to max. and stay there…
I have to say that I have a sneaking suspicion that the “max fans if non Dell-branded HDDs are detected” thing must be an engineered “feature” put in there deliberately by Dell… :(
I might try the suggestion above, also…(“cooling config to Minimum Power (Performance Per Watt Optimized”)
Interesting. All of my drives are non-Dell branded (Seagate IronWolfs and Crucial MX500s) and I have not experienced this myself.
I know it’s a year later but wanted to point out that I ran into exactly this with the same model T320. Any iDRAC firmware later than 2.30.30.30 sets the minimum fan speed so it runs between 2200RPM and 2800RPM at idle. Running 2.30.30.30 the fan runs at a nearly silent ~900RPM at idle and spins up when the system is under load.
There is a note in later versions of the iDRAC firmware that says: “This update is recommended for customers with Seagate 3.5″ 15K SAS HDD to improve hard drive reliability and longevity. Increased noise may be perceived as a result of increased fan speed.”
I don’t have any Seagate 15k drives but I did flash my PERC controller to IT mode. The system likely fails over to the more intense cooling when it can’t see what drives are there. For now, running the older iDRAC firmware works for me.
A bit late to the party and I don’t know if this is still relevant, but I figured I’d add my 2 cents anyway.
I had a similar problem with my T430 after installing a non-Dell branded PCIe graphics card, USB controller, wifi/bluetooth card (all for passthrough to a VM). It appears that Dell doesn’t like people installing components they haven’t blessed, and their punishment is to crank the fans to EEEEEEEEEEEEEEEEEEEEEEEEEEEEEEEEEEE to make people buy their blessed-but-very-overpriced stuff.
However, there is a solution, but it requires command line action through Dell’s racadm tool.
I ran this from my Linux laptop, but the Windows version should work the same. Check the documentation to make sure.
Run racadm against the server to get some information:
racadm -r 192.168.0.1 -u user -p “SuperSecretPassword” get System.ThermalSettings
This will give you the following output:
[Key=System.Embedded.1#ThermalSettings.1]
#FanSpeedHighOffsetVal=55
#FanSpeedLowOffsetVal=35
#FanSpeedMaxOffsetVal=100
#FanSpeedMediumOffsetVal=50
FanSpeedOffset=Off
#MFSMaximumLimit=100
#MFSMinimumLimit=0
MinimumFanSpeed=10
ThermalProfile=Default Thermal Profile Settings
ThirdPartyPCIFanResponse=Enabled
We’re really only intersted in the last line, “ThirdPartyPCIFanResponse”. This is the setting that cranks the fan to insanity if you install non-Dell components. The only Dell component I have in my system is the stock PERC H330 controller; everything else is third-party.
To change this annoying behaviour, enter the following command:
racadm -r 192.168.0.1 -u user -p “SuperSecretPassword” set ThirdPartyPCIFanResponse Disabled
If the server is currenetly powered on and the fans are going full tilt, you will instantly hear a reduction in fan noise and also your own thoughts again.
Combined with a fan replacement like described in the original article, you should be able to achieve an almost completely silent server.
Would be nice to see how you got this to work. I have a T330 with esxi installed
IMPORTANT NOTE!
The RAC is unable to communicate with the BMC. This condition may
occur because of (1) no BMC is present, (2) missing or disfunctional
IPMI-related software components. Many RAC features depend on BMC
connectivity in order to work properly, and you may see failures
as a result.
ERROR: RACADM is unable to process the requested subcommand because there is no
local RAC configuration to communicate with.
Local RACADM subcommand execution requires the following:
1. A Remote Access Controller (RAC) must be present on the managed server
2. Appropriate managed node software must be installed and running on the
server
Random question, are you using the integrated iDRAC express or a dedicated iDRAC enterprise card?
I’ve got the dedicated enterprise card
Sorry for being this absurdly late with my reply, but here goes:
% sudo racadm -r 192.168.0.1 -u user -p “password” get System.ThermalSettings
Security Alert: Certificate is invalid – self-signed certificate
Continuing execution. Use -S option for racadm to stop execution on certificate-related errors.
[Key=System.Embedded.1#ThermalSettings.1]
#FanSpeedHighOffsetVal=55
#FanSpeedLowOffsetVal=35
#FanSpeedMaxOffsetVal=100
#FanSpeedMediumOffsetVal=50
FanSpeedOffset=Off
#MFSMaximumLimit=100
#MFSMinimumLimit=10
MinimumFanSpeed=255
ThermalProfile=Default Thermal Profile Settings
ThirdPartyPCIFanResponse=Disabled
I just ran this on my server, and as you can see, it’s already disabled.
Here I’m running the command to disable it again:
% sudo racadm -r 192.168.0.1 -u user -p “password” set System.ThermalSettings.ThirdPartyPCIFanResponse Disabled
Security Alert: Certificate is invalid – self-signed certificate
Continuing execution. Use -S option for racadm to stop execution on certificate-related errors.
[Key=System.Embedded.1#ThermalSettings.1]
Object value modified successfully
Since my previous post I’ve upgraded my Linux Mint installation from 20.3 to 21.2, and had to reinstall the racadm tools for some reason. They probably got nuked during the upgrade.
Very nice blog post, thank you for posting it.
I’ve got a bit of an odd question for you…
Do you think it would be possible to motherboard swap this case? For some strange reason I really like the look and would like to throw a different motherboard in it. Do you know if it’s as simple as buying some front panel extension cables and trial-and-erroring my way to getting the front panel to work?
No sorry. No idea about swapping out the motherboard.
I seriously considered this option at first, but ultimately decided it’s not worth my time to motherboard swap my T330. I believe T340 uses the same case, so what I’m about to say should also apply to T340.
The case is very deep/wide, so a custom ATX motherboard mounting adapter would be possible. However, that’s really the easy part, because many other components are Dell proprietary and would not function without the correct motherboard and firmware. AFAIK, the front panel USB does appear to use standard internal USB header and connector.
Anyway, you can pretty much forget the stock Dell PSU and HDD backplane, they both communicate with the mobo via dedicated signal wires, and most likely they are not going to function without a compatible Dell mobo. Additionally, the stock PSU only supplies 12v, so the SATA 5v is coming from the mobo. Assuming you can somehow get the PSU to function, you’ll need an ATX12VO mobo.
It would be an interesting project for sure, I recently just did a PSU mod on my T330 which added an 8 pin PCIE power for the dGPU, so these machines definitely can be more capable than Dell’s original design. I suppose you can mod the case for PSU swap, ditch the HDD backplane and connect/power each individual drives instead.
Thanks for sharing this mod, I’m in the process of silencing my Dell T330, which is one generation older than your T340. On my T330, the motherboard appears to have two standard 4pin PWM fan connectors, one used for the back exhaust fan, and the other is unused and labeled as CPU fan 1, (I assumed they are standard, will test it out when the Noctua fan arrives). Kinda sucks that Dell is going out of their way to make their product less repairable.
Also, if you are not using the 5.25″ bays in the front, you can 3d print this fan mount, it converts the three 5.25″ bays to a single 120mm fan mount.
Link:https://www.printables.com/model/95346-computer-case-fan-adapter-3x-525-bays-120-mm-fan
I don’t think I owned a 3D printer when I did this project. That’s good to know if I ever take it a part again. I ended up duct taping a 140mm fan in the 5.25″ bay and it’s be working fine.